Overview
These AI features leverage cutting-edge technologies to assist users, translate messages, summarize content, and more.Assist Answer
QuickBlox iOS UIKit provides answer assistant functionality that helps users effortlessly send various answers considering chat history.
How to use
In iOS UIKit version 0.4.0, you should enable QuickBlox AI Answer Assistant using your Smart ChatAssist ID from the QuickBlox admin panel.Enable AI Extensions
- Navigate to the Dashboard => YOUR_APP => AI Extensions page
- Select the checkboxes for the features you want to enable.
- Click the Save button to save changes.

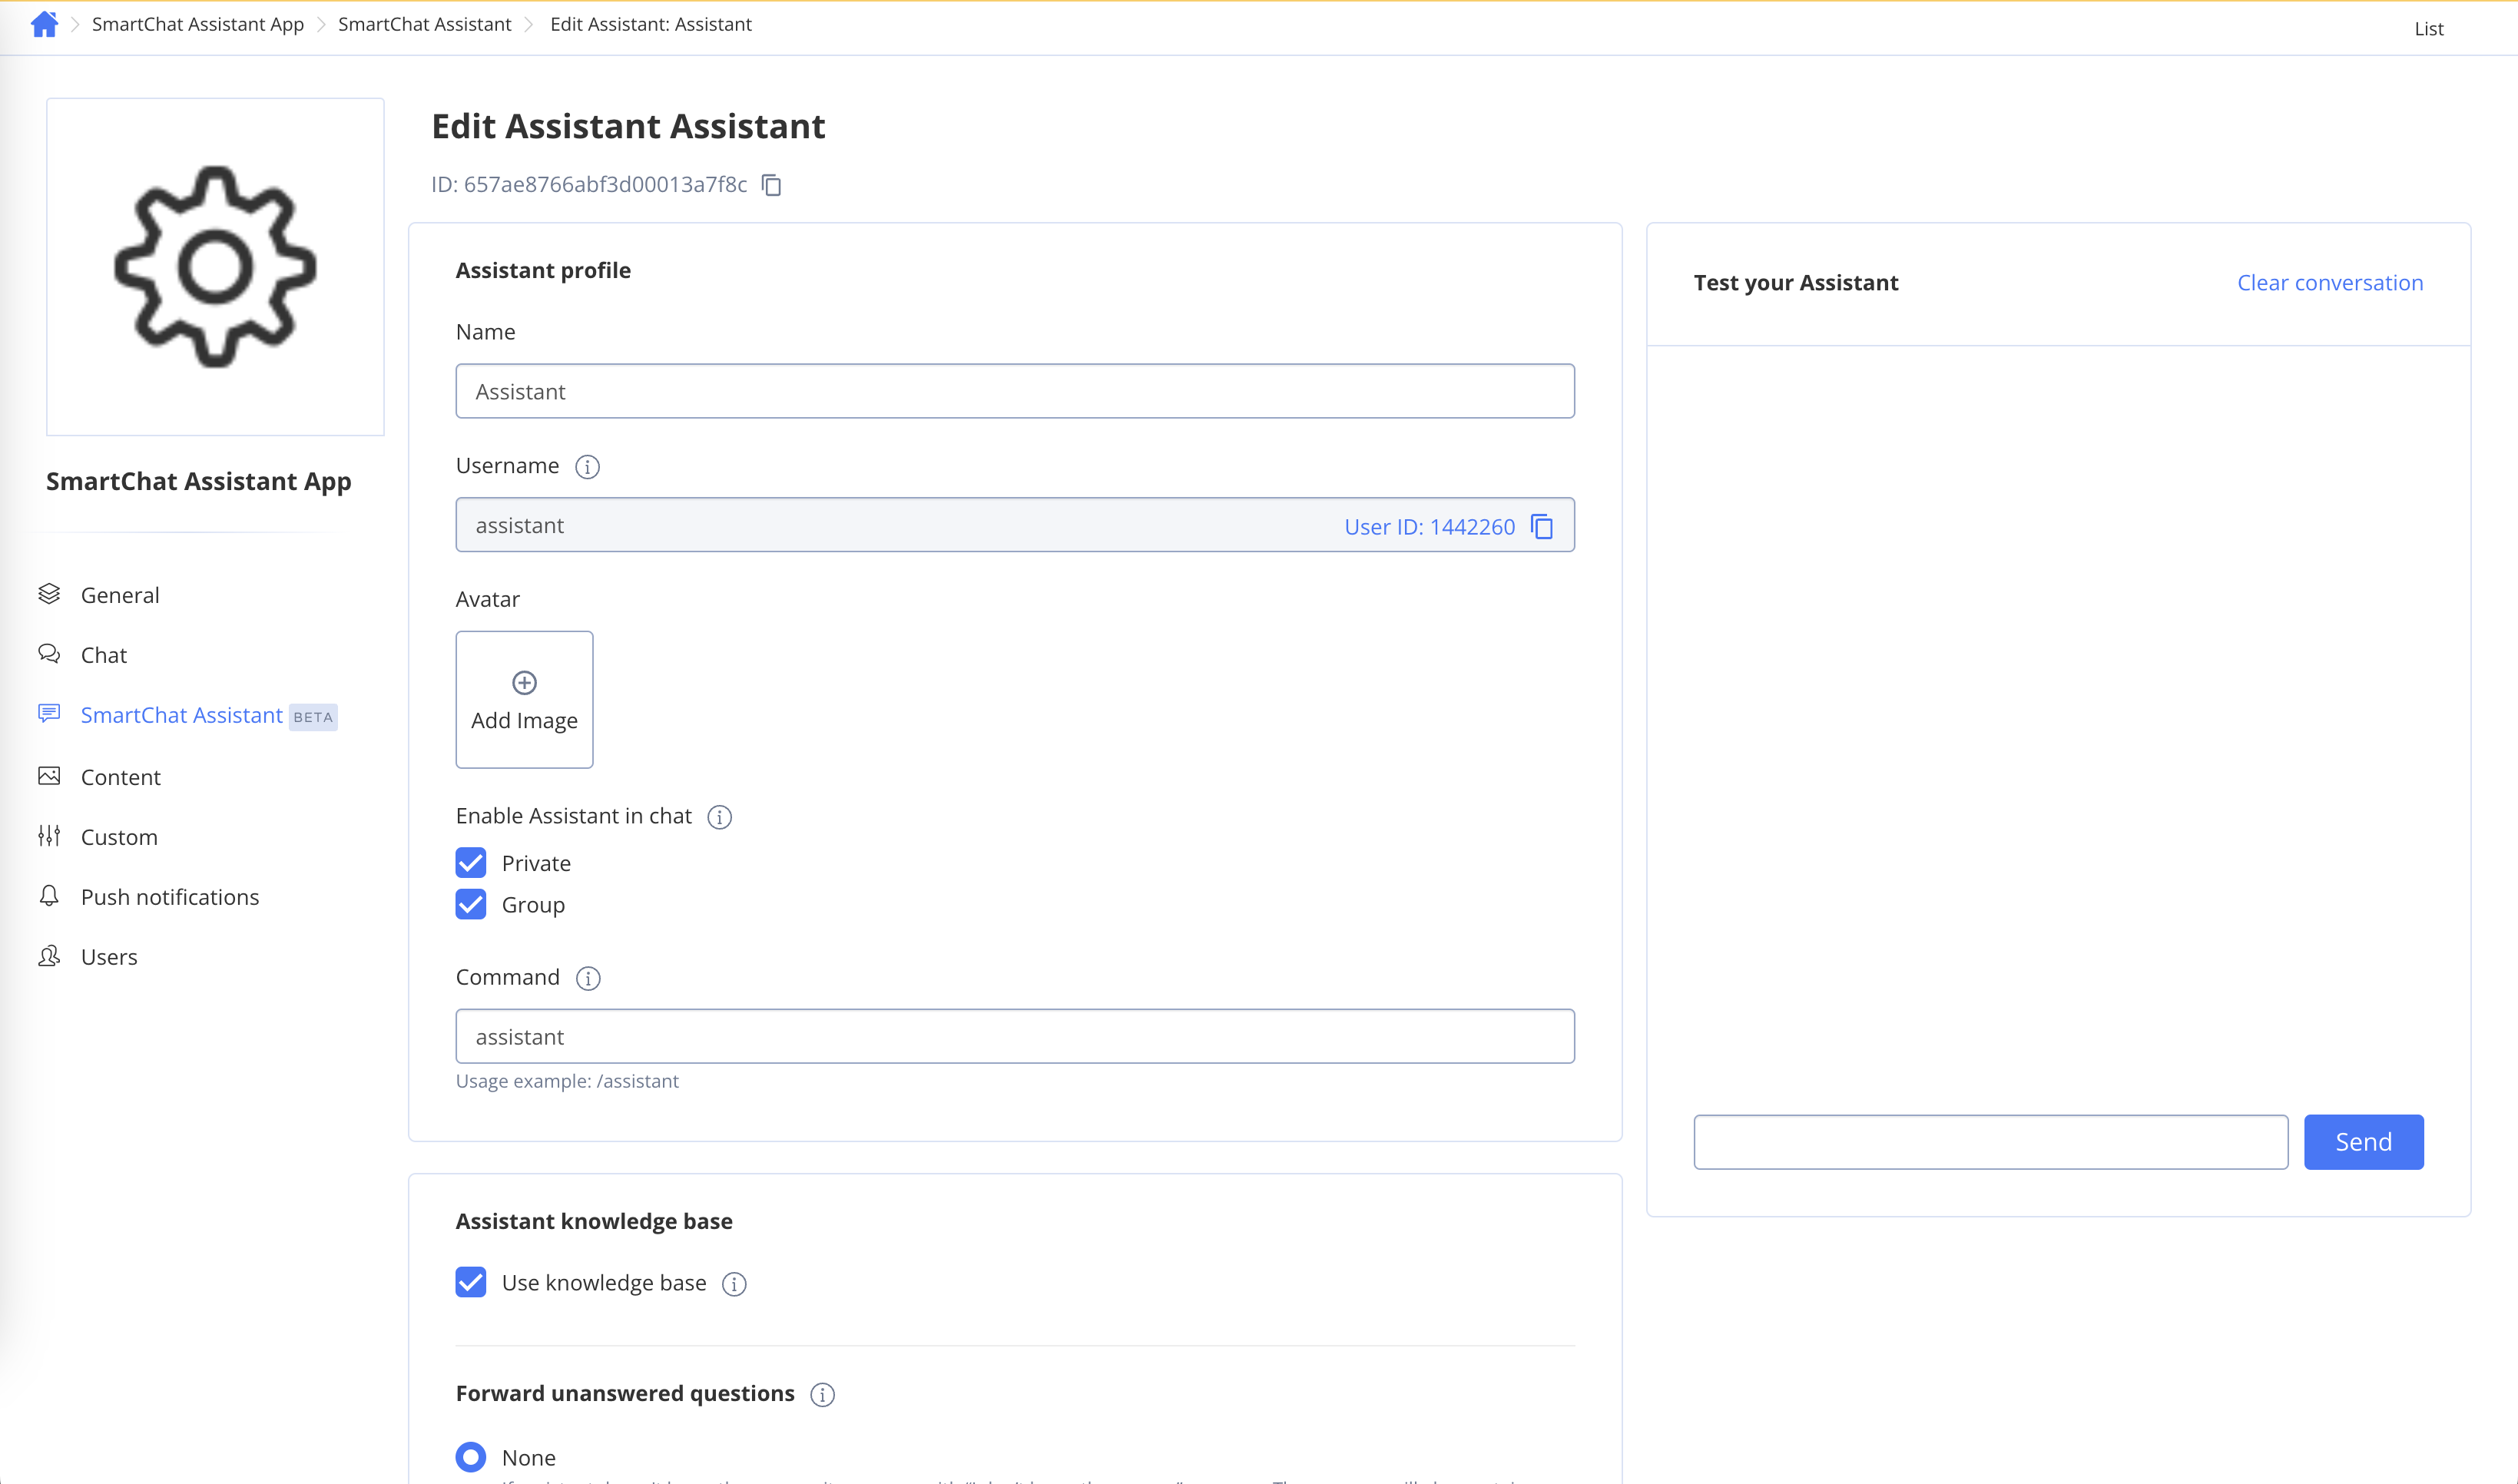
Review your AI Agent
To get ID of AI Agent to use it assmartChatAssistantId param follow the steps below:
- Navigate to the Dashboard => YOUR_APP => AI Agent page
- Choose the ID of the AI Agent you want to update and click on it.
- Edit the AI Agent settings.
- Click the Save button to save changes.
Enable with AI Agent ID
Swift
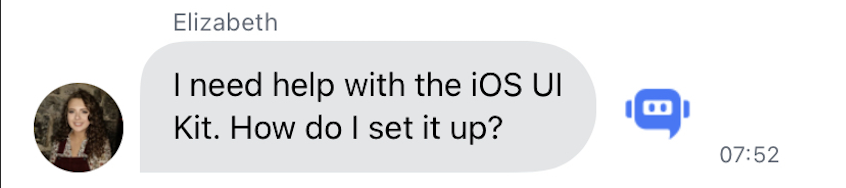
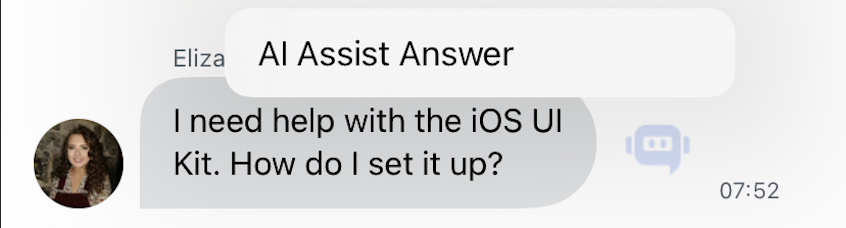
When enabled, a button will appear next to each incoming message in the chat interface.
Swift
Disable Assist Answer
Swift
Enable with Open AI Token or Proxy server
Video tutorial. To use the AI Assist Answer feature in your QuickBloxUIKit project, follow these steps:-
Enable the AI Assist Answer feature:
Swift
-
Set up the AI settings by providing either the OpenAI API key:
Swift
Swift
We recommend using a proxy server like the QuickBlox AI Assistant Proxy Server offers significant benefits in terms of security and functionality:
- When making direct requests to the OpenAI API from the client-side, sensitive information like API keys may be exposed. By using a proxy server, the API keys are securely stored on the server-side, reducing the risk of unauthorized access or potential breaches.
- The proxy server can implement access control mechanisms, ensuring that only authenticated and authorized users with valid QuickBlox user tokens can access the OpenAI API. This adds an extra layer of security to the communication.
- A developer using the AI Answer Assist library has the ability use to Default AIAnswerAssistSettings.
Swift
- A developer using the AI Answer Assist library has the ability to setup custom settings. This is an example of creating custom tones and installing them in QuickBlox iOS UIKit from the custom application.
Swift
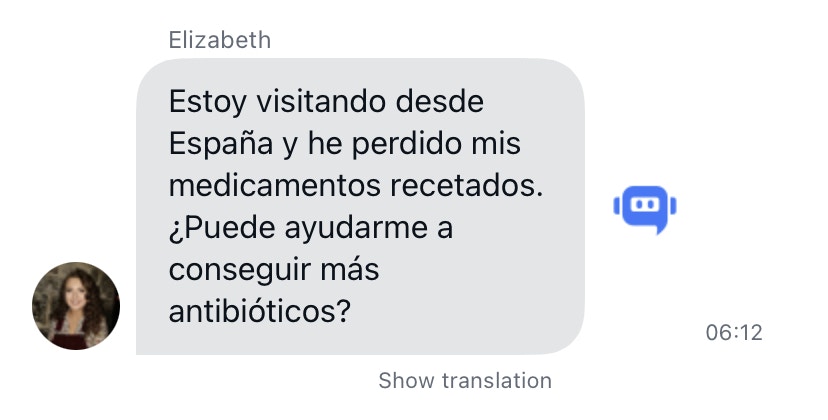
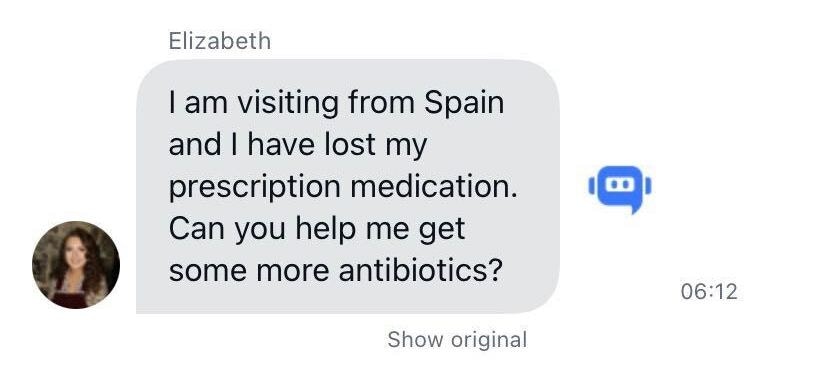
Translate
QuickBlox iOS UIKit provides Translate functionality that helps users simplify cross-lingual communication by providing instant message translation services.How to Use
In iOS UIKit version 0.4.0, you should enable QuickBlox AI Translate using your Smart ChatAssist ID from the QuickBlox admin panel.Enable AI Extensions
- Navigate to the Dashboard => YOUR_APP => AI Extensions page
- Select the checkboxes for the features you want to enable.
- Click the Save button to save changes.
Review your AI Agent
To get ID of AI Agent to use it assmartChatAssistantId param follow the steps below:
- Navigate to the Dashboard => YOUR_APP => AI Agent page
- Choose the ID of the AI Agent you want to update and click on it.
- Edit the AI Agent settings.
- Click the Save button to save changes.
Enable with AI Agent ID
Swift
When enabled, the “Show translation” button will be displayed at the bottom of every incoming message in the chat interface.
Swift
Disable AI Translate
Enable with Open AI Token or Proxy server
To use the AI Translate feature in your QuickBloxUIKit project, follow these steps:- Enable the AI Translate feature:
Swift
- Set up the AI settings by providing either the OpenAI API key:
Swift
Swift
We recommend using a proxy server like the QuickBlox AI Assistant Proxy Server offers significant benefits in terms of security and functionality:
- When making direct requests to the OpenAI API from the client-side, sensitive information like API keys may be exposed. By using a proxy server, the API keys are securely stored on the server-side, reducing the risk of unauthorized access or potential breaches.
- The proxy server can implement access control mechanisms, ensuring that only authenticated and authorized users with valid QuickBlox user tokens can access the OpenAI API. This adds an extra layer of security to the communication.
- A developer using the AI Translate library has the ability use to Default
QBAITranslate.Languageand Default AITranslateSettings.
Swift
- A developer using the AI Translate library has the ability to setup custom translation language (by default used system language). Also a developer has the ability to setup custom settings. This is an example of creating custom tones and installing them in QuickBlox iOS UIKit from the custom application.
Swift
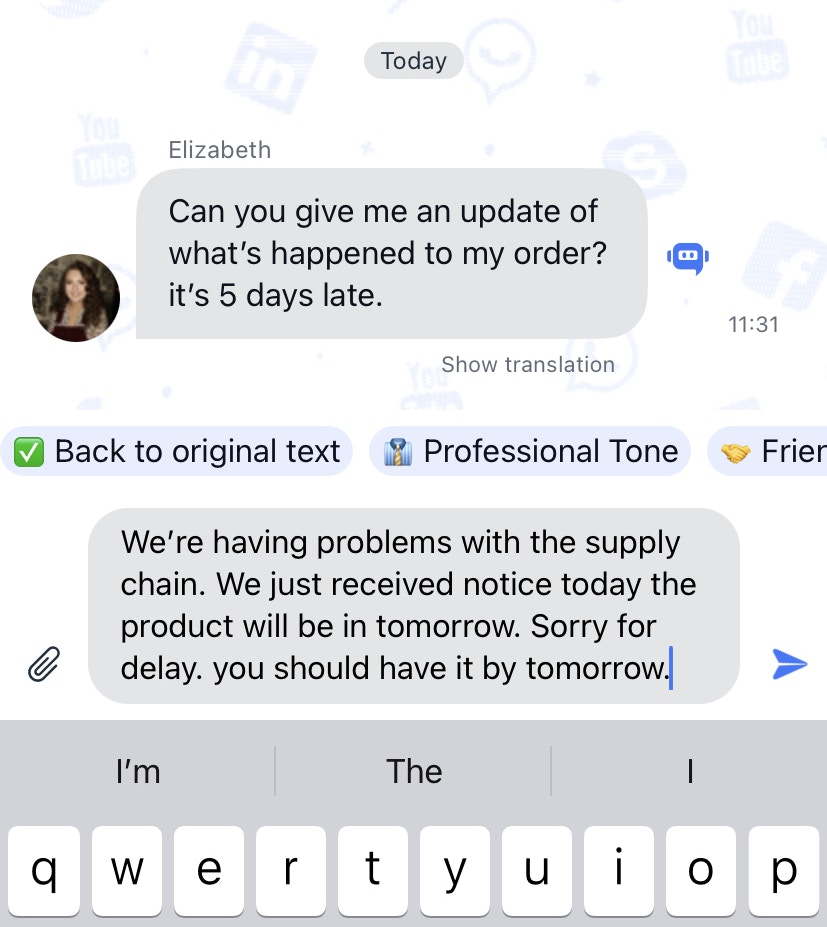
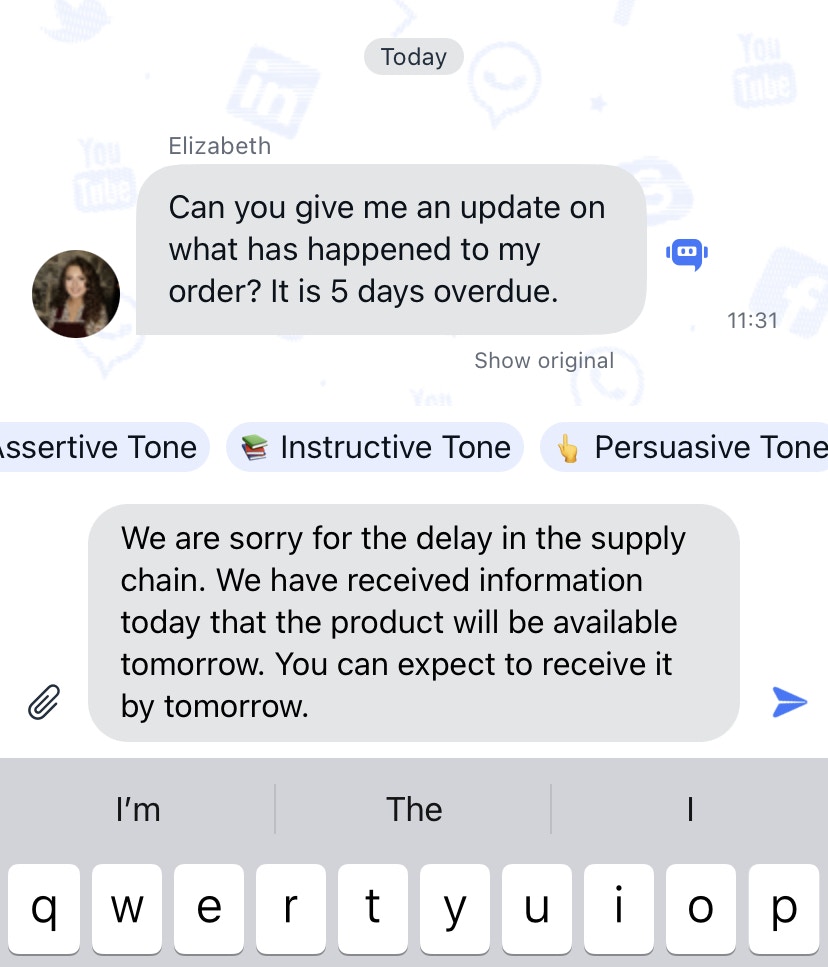
Rephrase
The AI Rephrase feature in QuickBloxUIKit empowers you to seamlessly integrate AI Rephrase capabilities into your chat-based application using the QBAIRephrase Swift package. This feature leverages the OpenAI API key or proxy server to generate responses more securely and efficiently.
How to Use
To use the AI Rephrase feature in your QuickBloxUIKit project, follow these steps:- Enable the AI Rephrase feature:
swift

- Set up the AI settings by providing either the OpenAI API key:
swift
Swift
- A developer using the AI Rephrase library has the ability use to Default Tones and Default AIRephraseSettings.
Swift
- A developer using the AI Rephrase library has the ability to delete tones, create his own tones, and add them to tailor the user interface to his needs. Also a developer has the ability to setup custom settings. This is an example of creating custom tones and installing them in QuickBlox iOS UIKit from the custom application.
Swift
- A developer using the AI Rephrase library has the ability to customize the Appearance of UI Rephrase elements to adapt the user interface to their needs.
Swift
swift
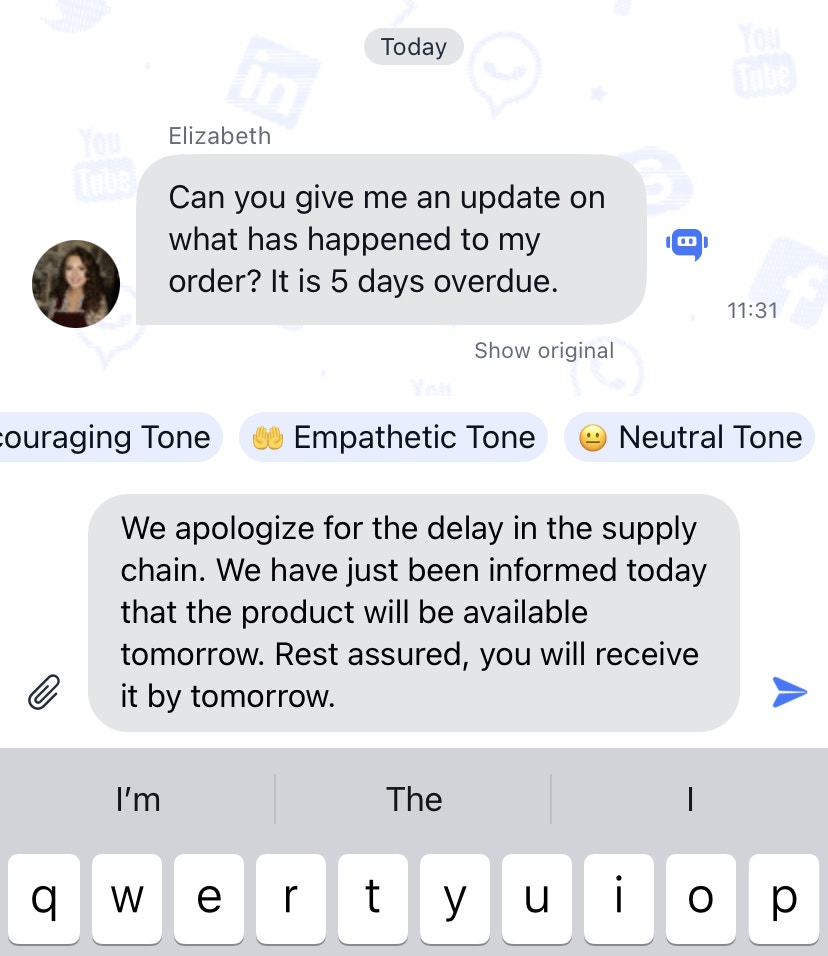
Default tones
- Professional tone: This will allow you to edit messages to sound more formal, using technical language, clear sentence structures, and maintaining a respectful tone. This would avoid colloquial language and ensure appropriate greetings and signatures.
- Friendly Tone: This will allow you to tailor your messages to reflect a casual, friendly tone. It will include casual language, use emoticons, exclamation points and other informal elements to make the message seem more friendly and approachable.
- Encouraging tone: This tone will be useful for motivation and encouragement. It will include positive words, affirmations and express support and faith in the recipient.
- Empathic Tone: This tone will be used to show understanding and empathy. This will require softer language, acknowledgment of feelings, and demonstrations of compassion and support.
- Neutral Tone: For when you want to maintain an even, impartial and objective tone. He will avoid harsh statements and emotional words, preferring clear and direct communication.
- Assertive Tone: This tone is useful for making a clear statement, asserting a position, or in negotiations. He uses direct speech, is confident and does not soften his words.
- Instructive Tone: This tone would be useful for tutorials, guides, or other teaching and learning materials. It is clear, concise and logically guides the reader through the steps or processes.
- Persuasive Tone: This tone can be used when trying to convince someone or to argue your point. He uses persuasive language, strong words and logical reasoning.
- Sarcastic/Ironic Tone: This tone can make the communication more humorous or convey an ironic attitude. It is more difficult to implement because it requires the AI to understand the nuances of the language and may not always be perceived by the reader as intended.
- Poetic Tone: This will add an artistic touch to messages by using figurative language, rhyme, and rhythm to create more expressive text.