View list of files
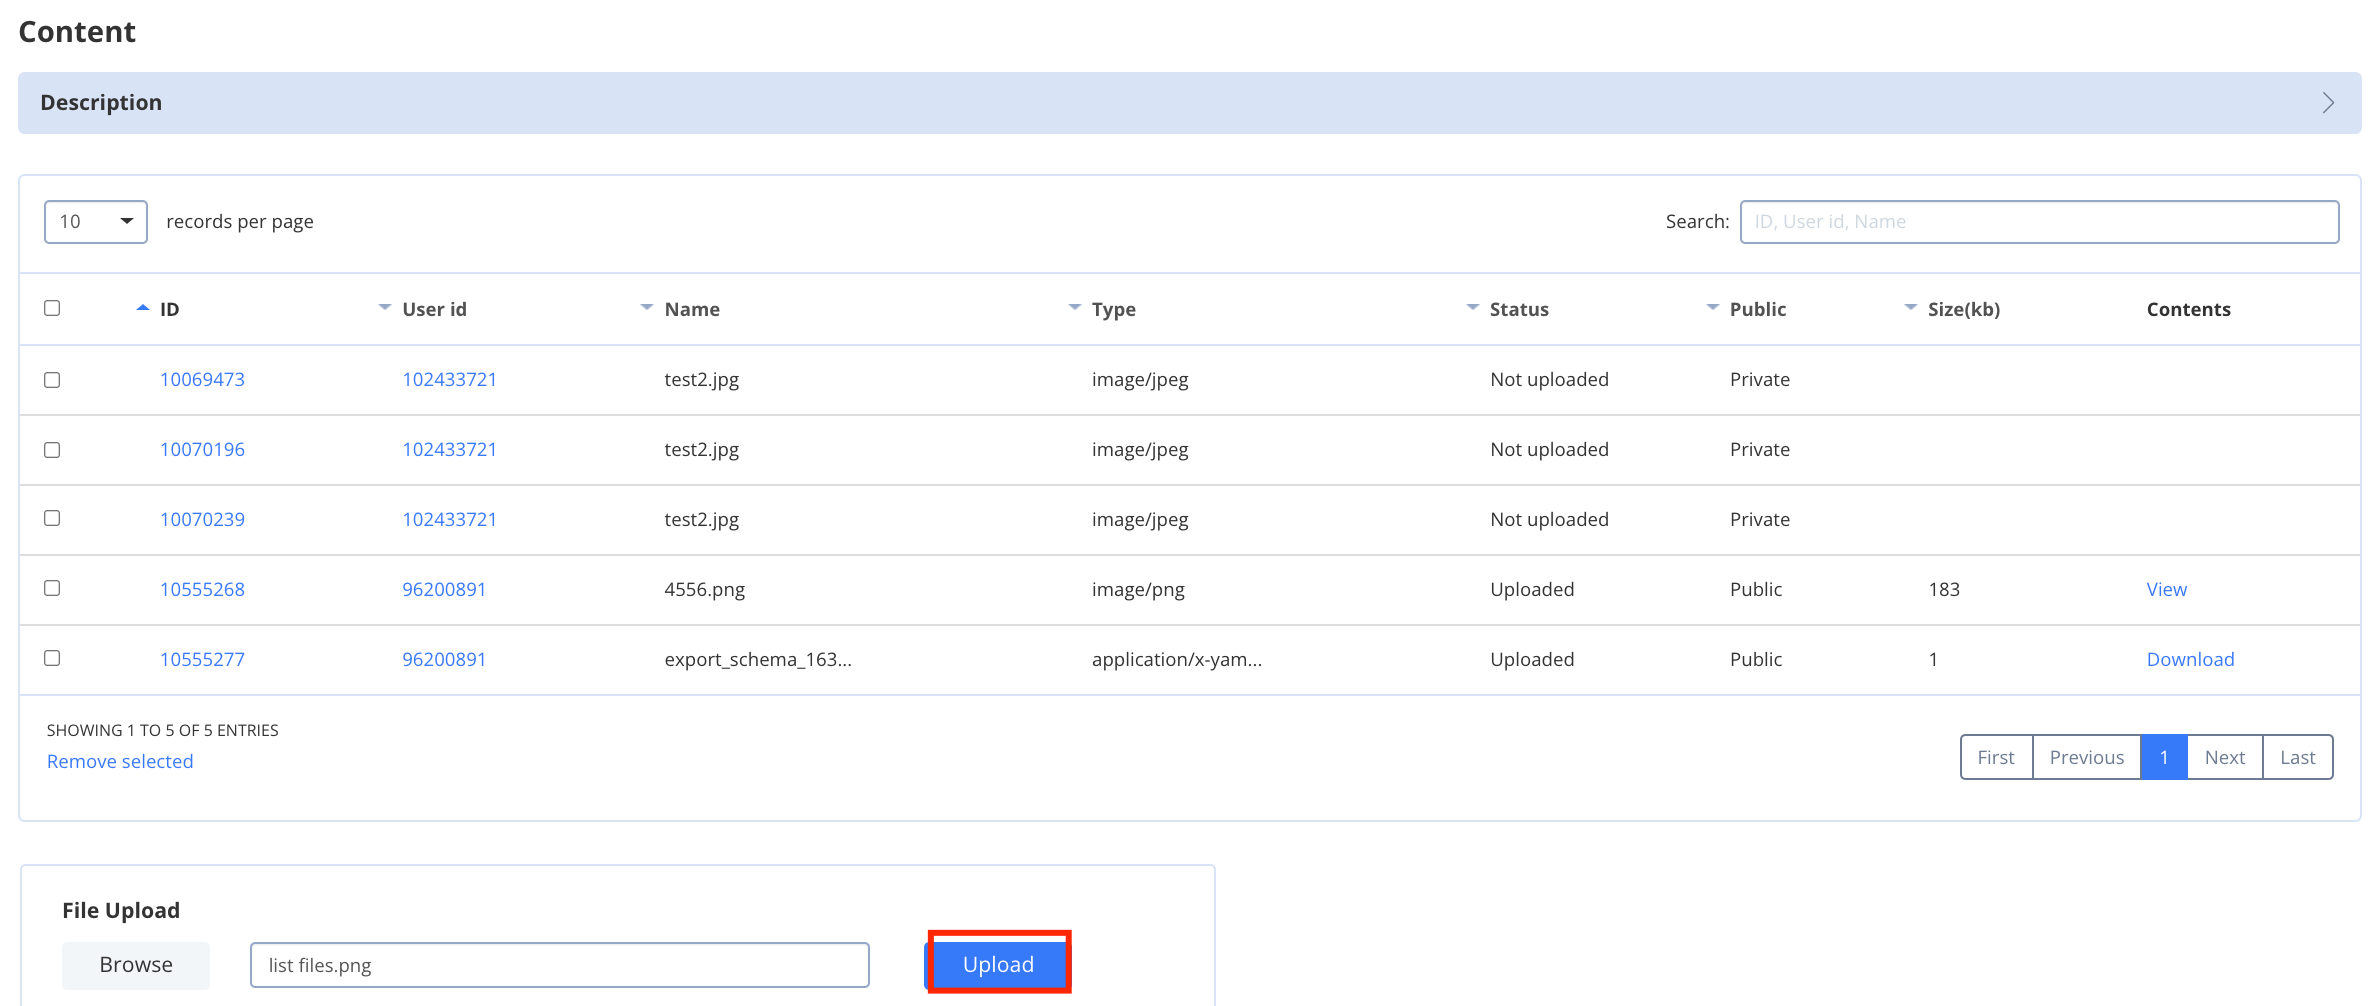
To view a list of files, follow the steps below:- Navigate to the Dashboard => YOUR_APP => Content page. Here, you will see a list of uploaded files.
- Use a Search area to display a file/files by file ID, user ID, or file name.

Upload file
To upload a file to the file storage, follow the steps below:- Navigate to the Dashboard => YOUR_APP => Content page. Here, you will see a list of uploaded files.
- Click the Browse button and choose the file to be uploaded.
- Click the Upload button.

| Basic | Startup | Growth | HIPAA | Enterprise | |
|---|---|---|---|---|---|
| File size limit | 10 Mb | 25 Mb | 50Mb | 50Mb | Contact our sales team |
Download file
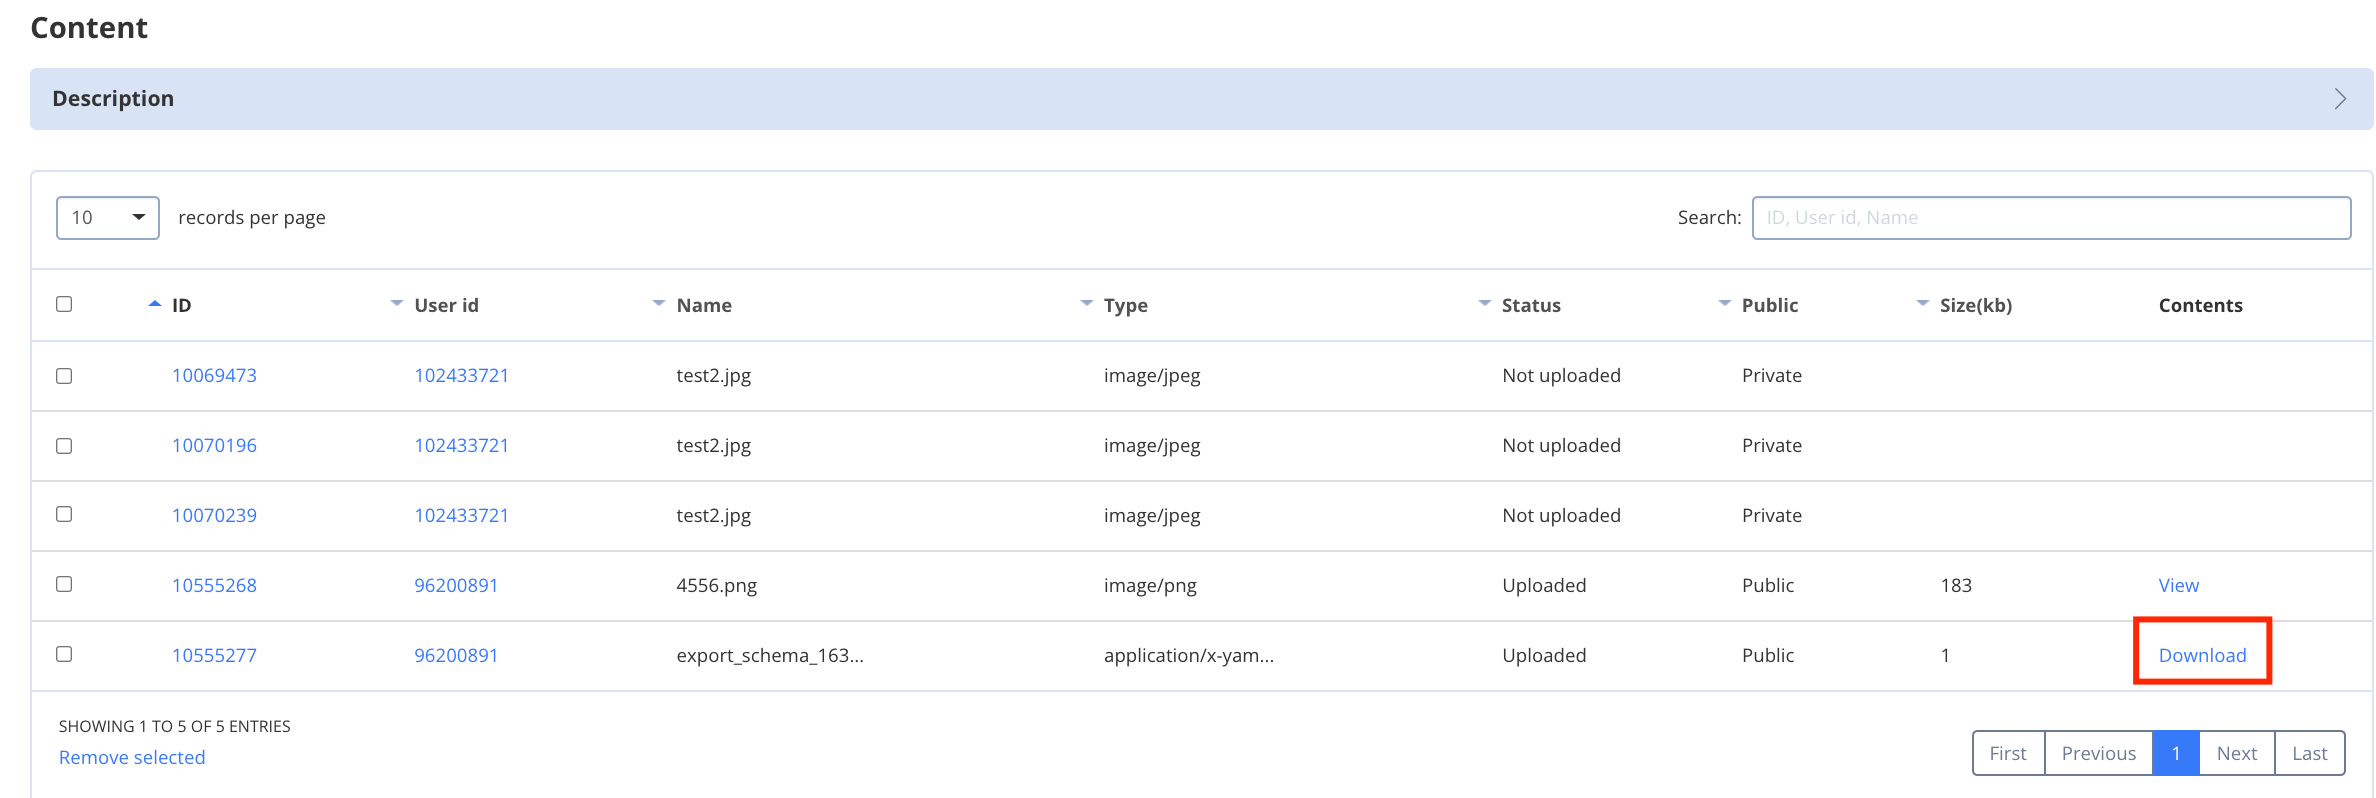
To download a file, follow the steps below:- Navigate to the Dashboard => YOUR_APP => Content page. Here, you will see a list of uploaded files.
- Choose a file you want to download.
- Click the Download button in the Contents column for this file.

Delete file
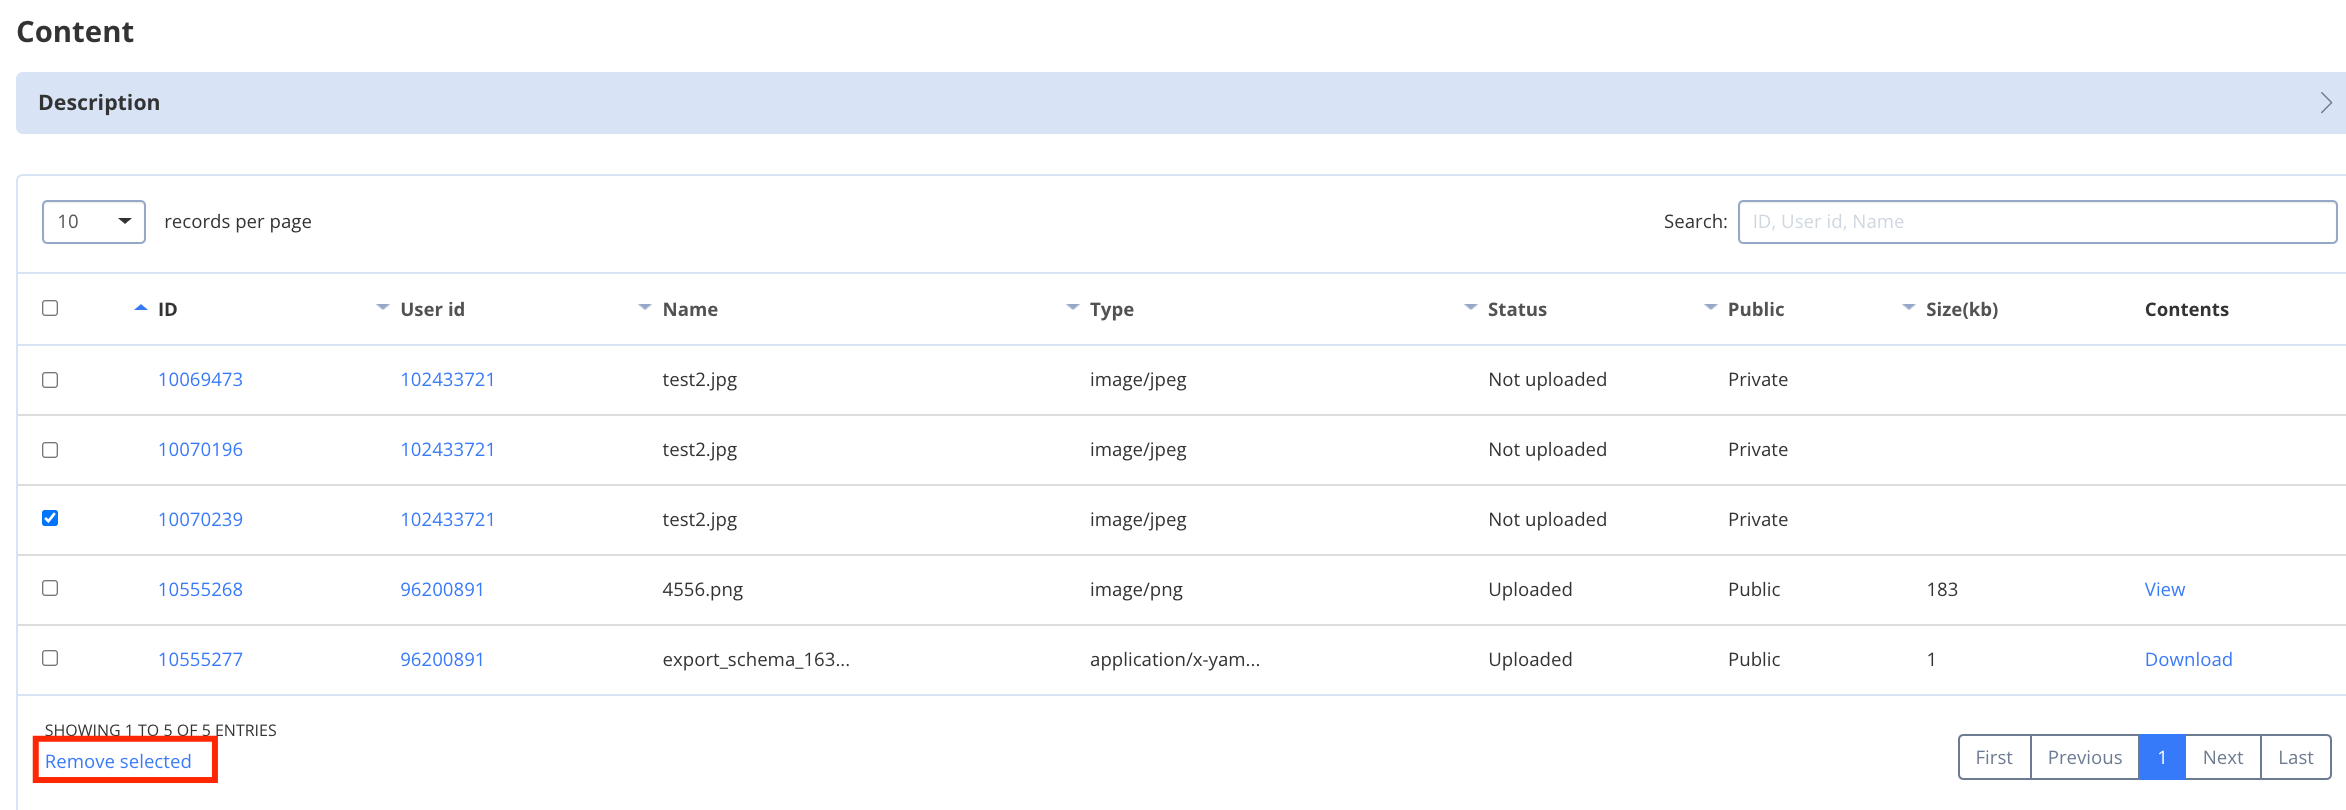
To delete a file, follow the steps below:- Navigate to the Dashboard => YOUR_APP => Content page. Here, you will see a list of uploaded files.
- Check the file/files you want to delete.
- Click the Remove selected button.
