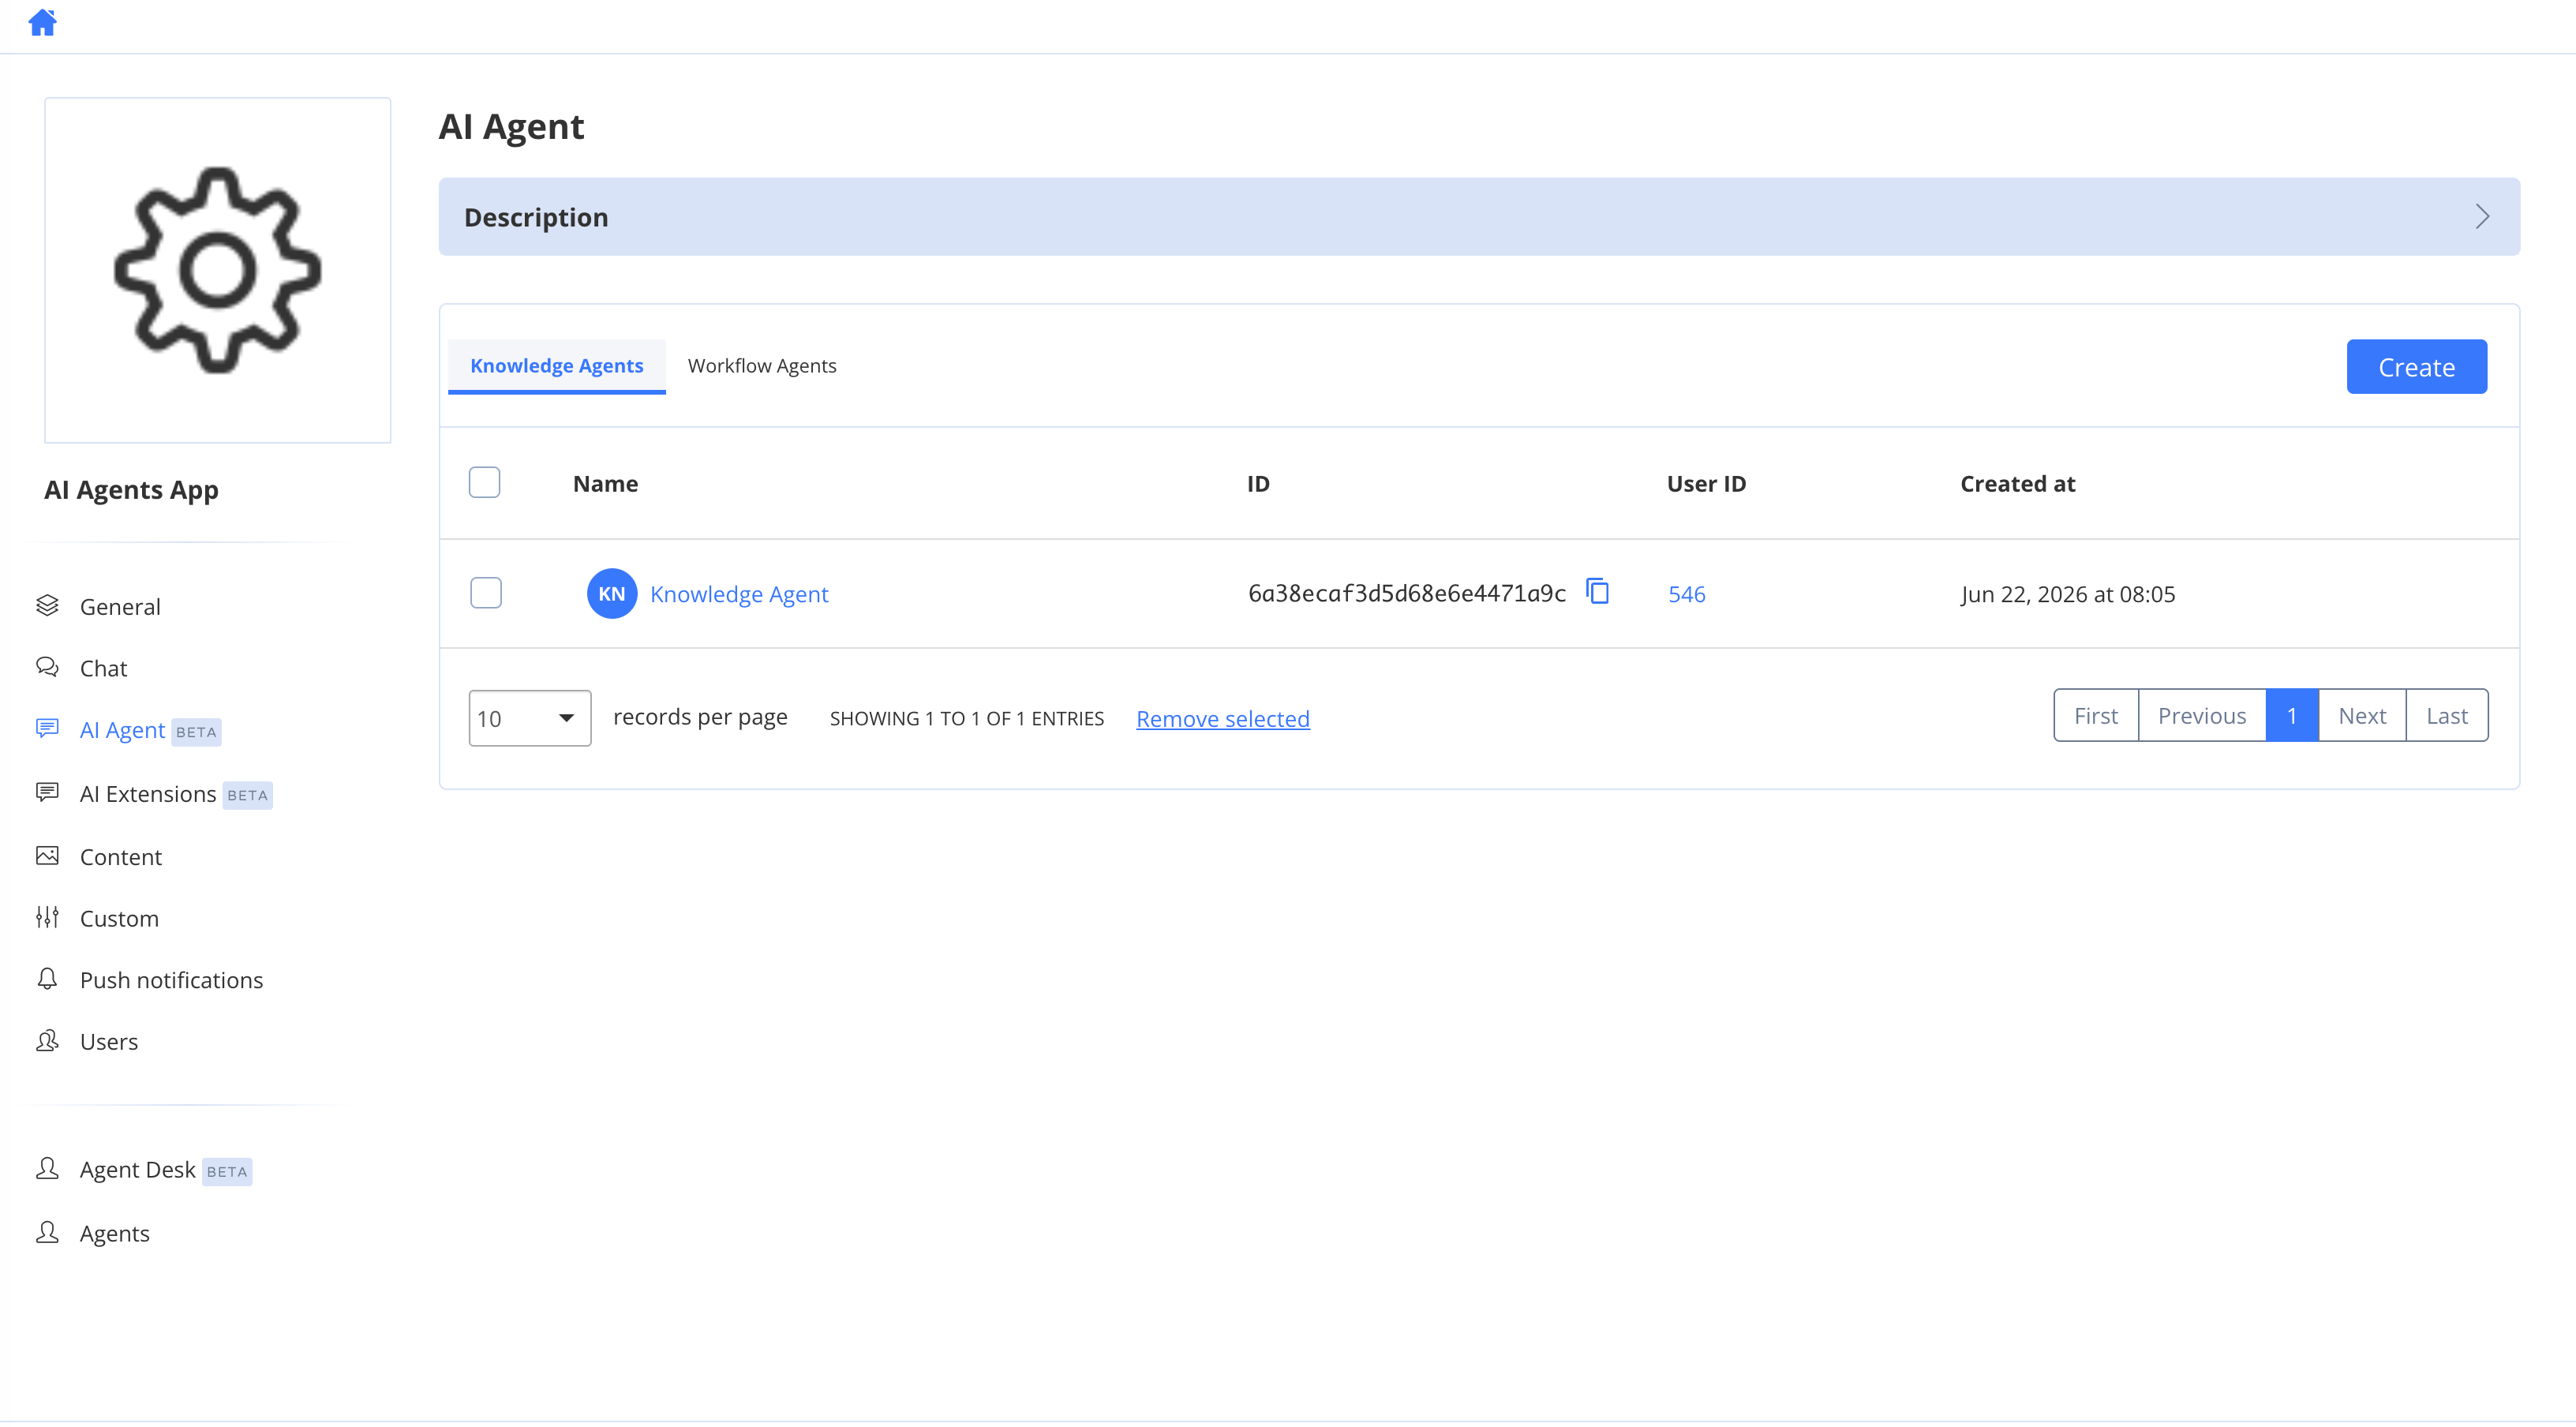
View AI Agents
To view a list of AI Agents, follow the steps below:- Navigate to the Dashboard => YOUR_APP => AI Agent page.
Create AI Agent
To create an AI Agent, follow the steps below:- Navigate to the Dashboard => YOUR_APP => AI Agent page.
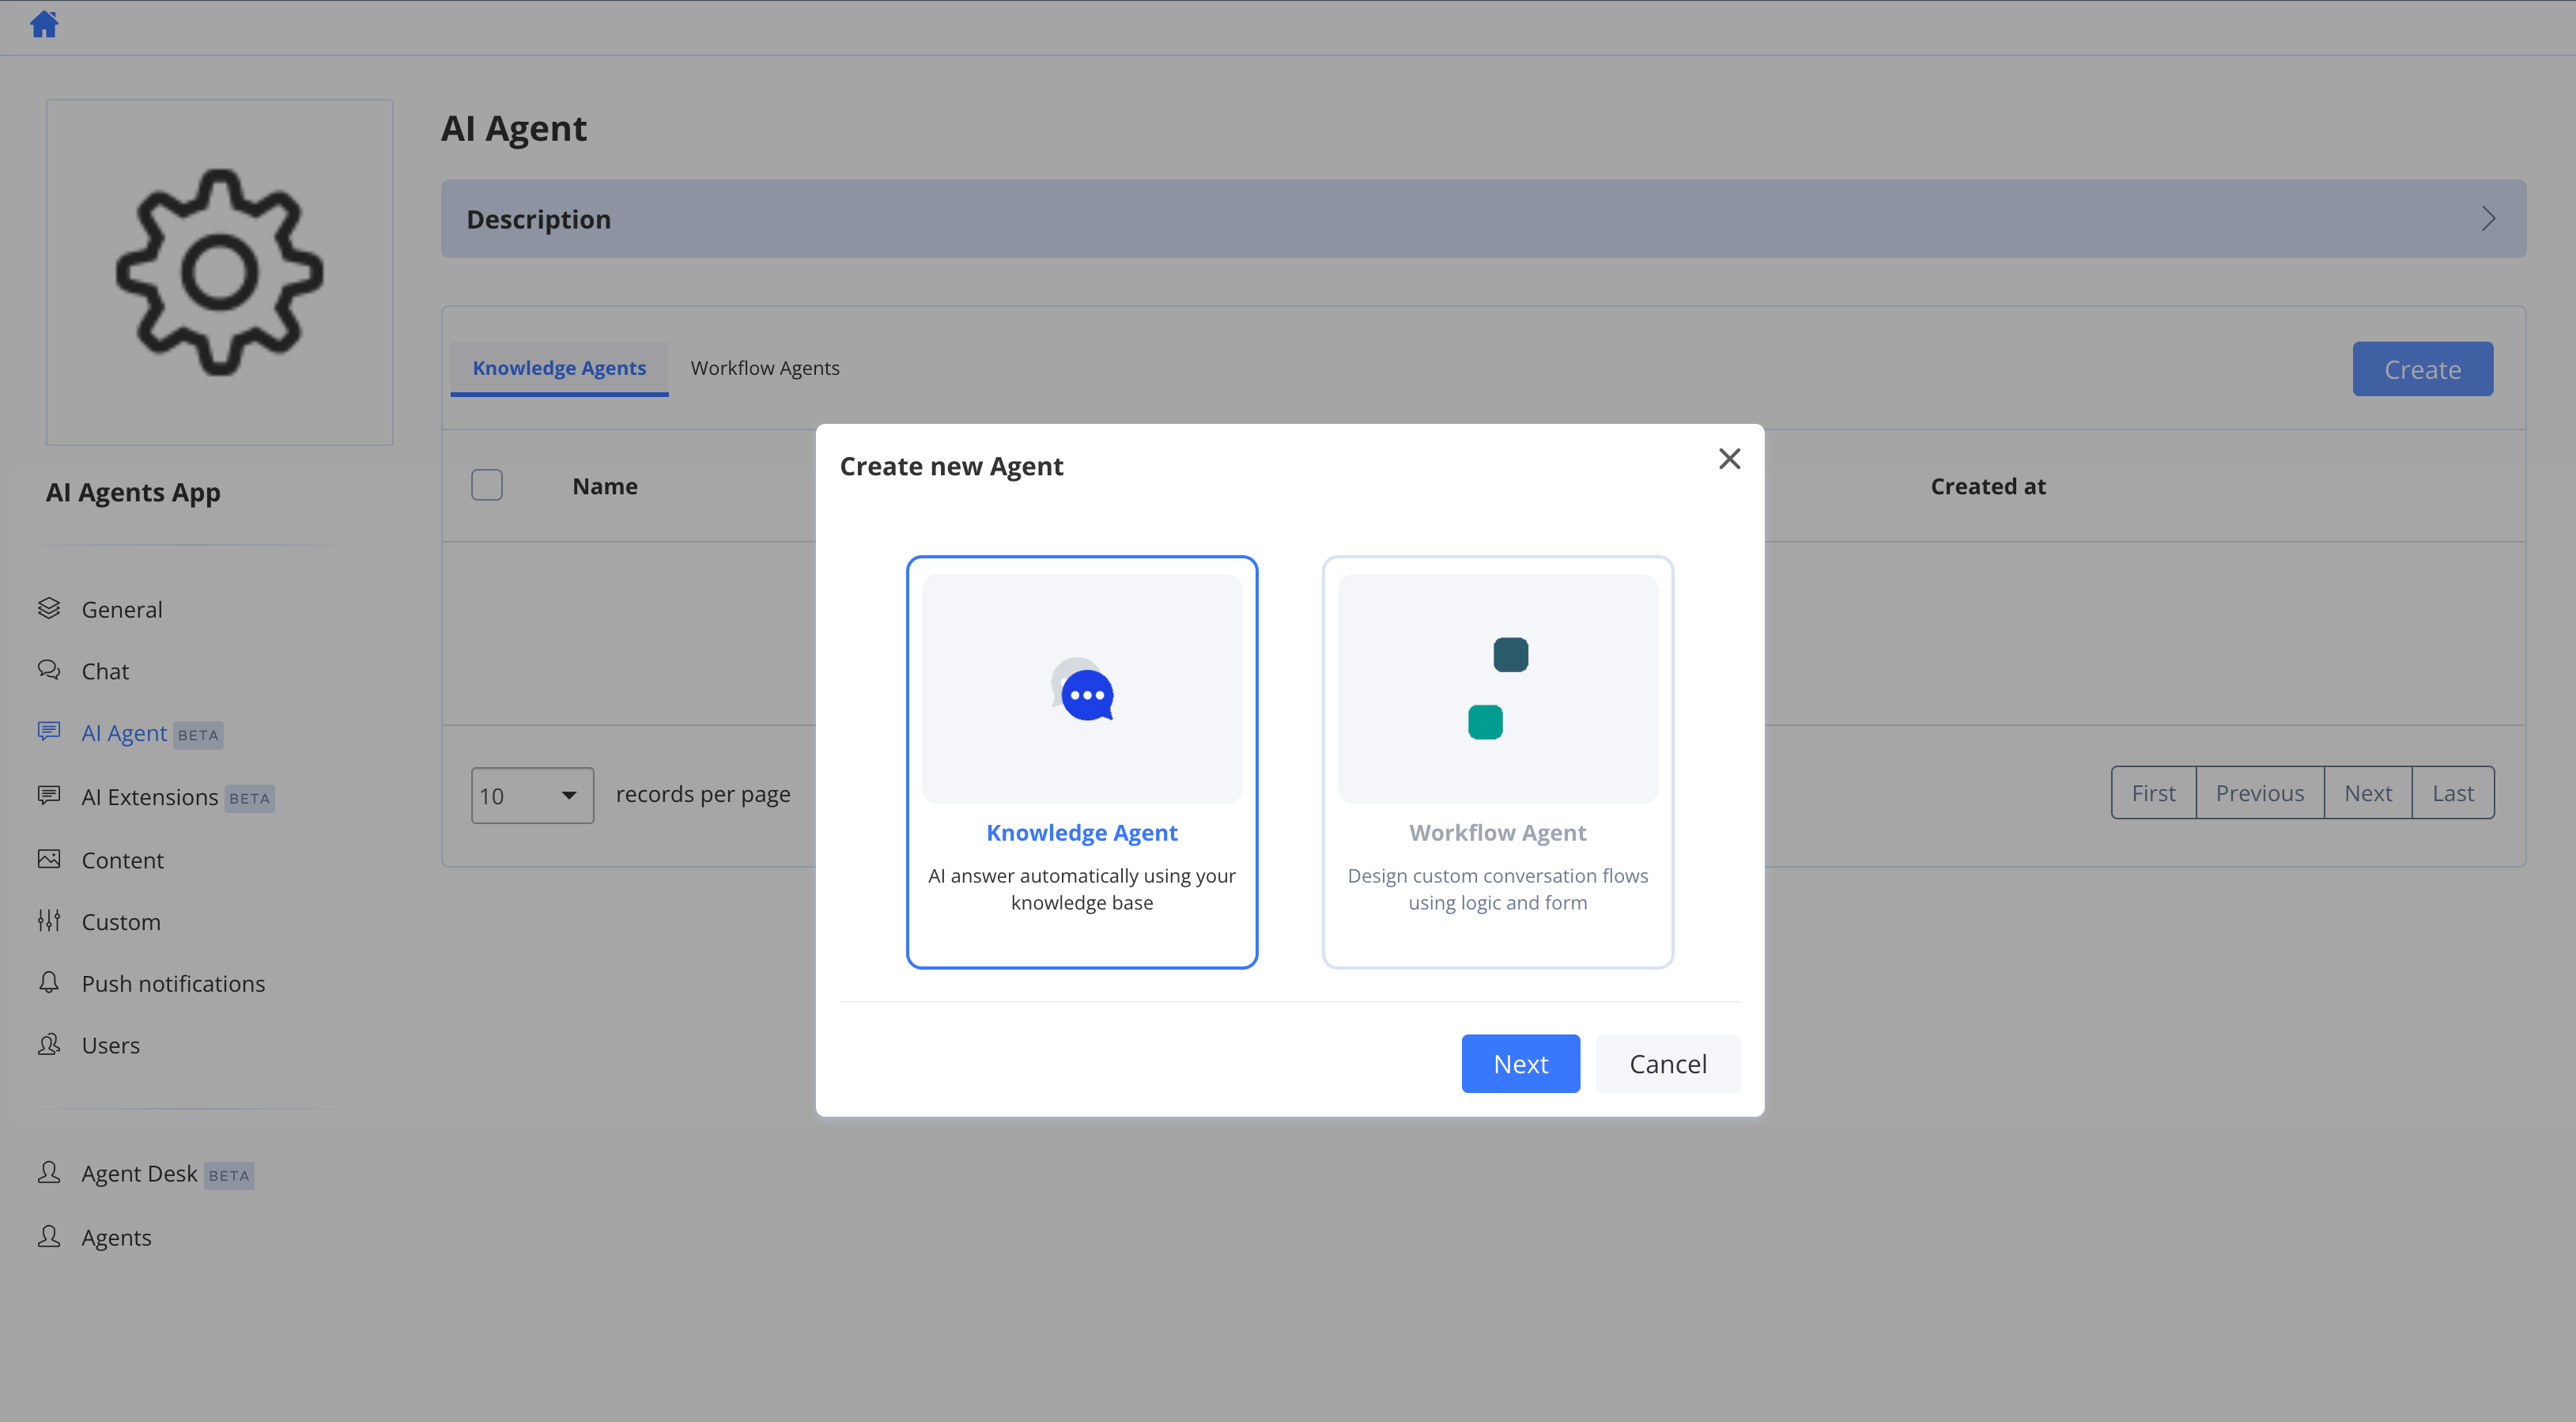
- Click the Create button.
- Choose an agent type — Knowledge Agent or Workflow Agent — and click Next. (See Agent Types for the difference.)
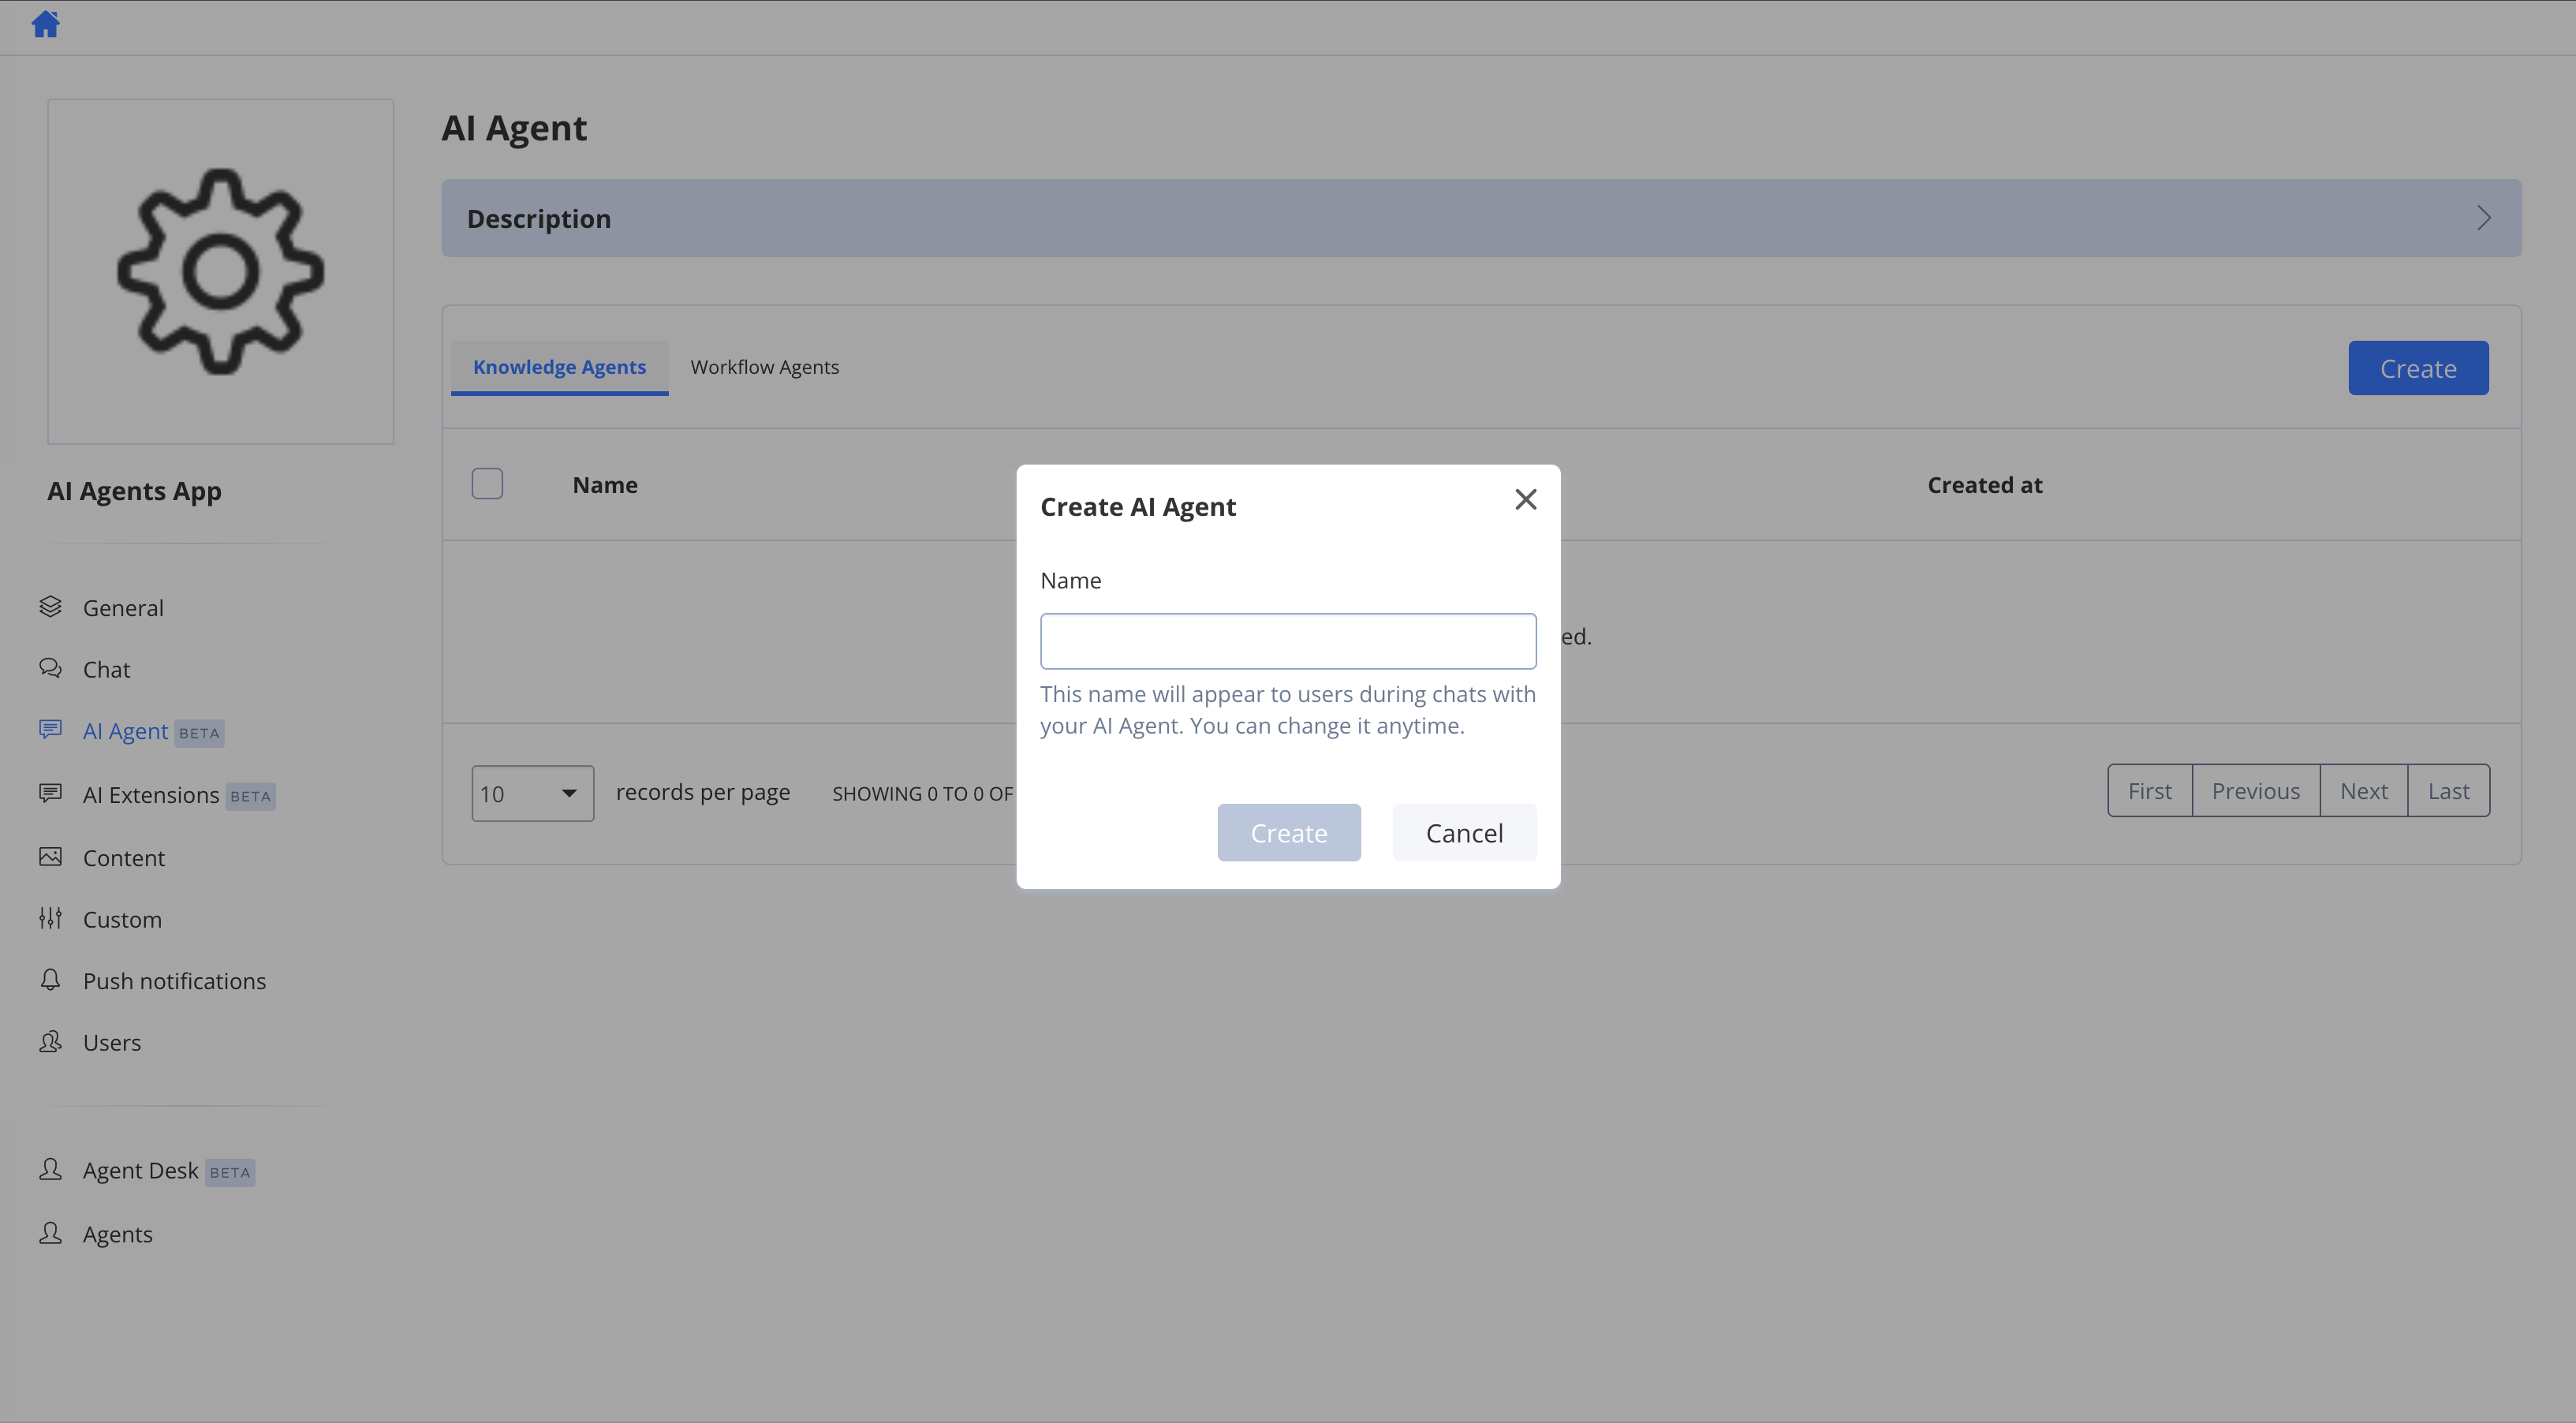
- Enter a Name for the agent and click Create.
Agent type is chosen only at creation and cannot be changed afterwards. This page covers the settings shared by both agent types; for workflow-specific configuration, see Workflows overview.
Configure your AI Agent
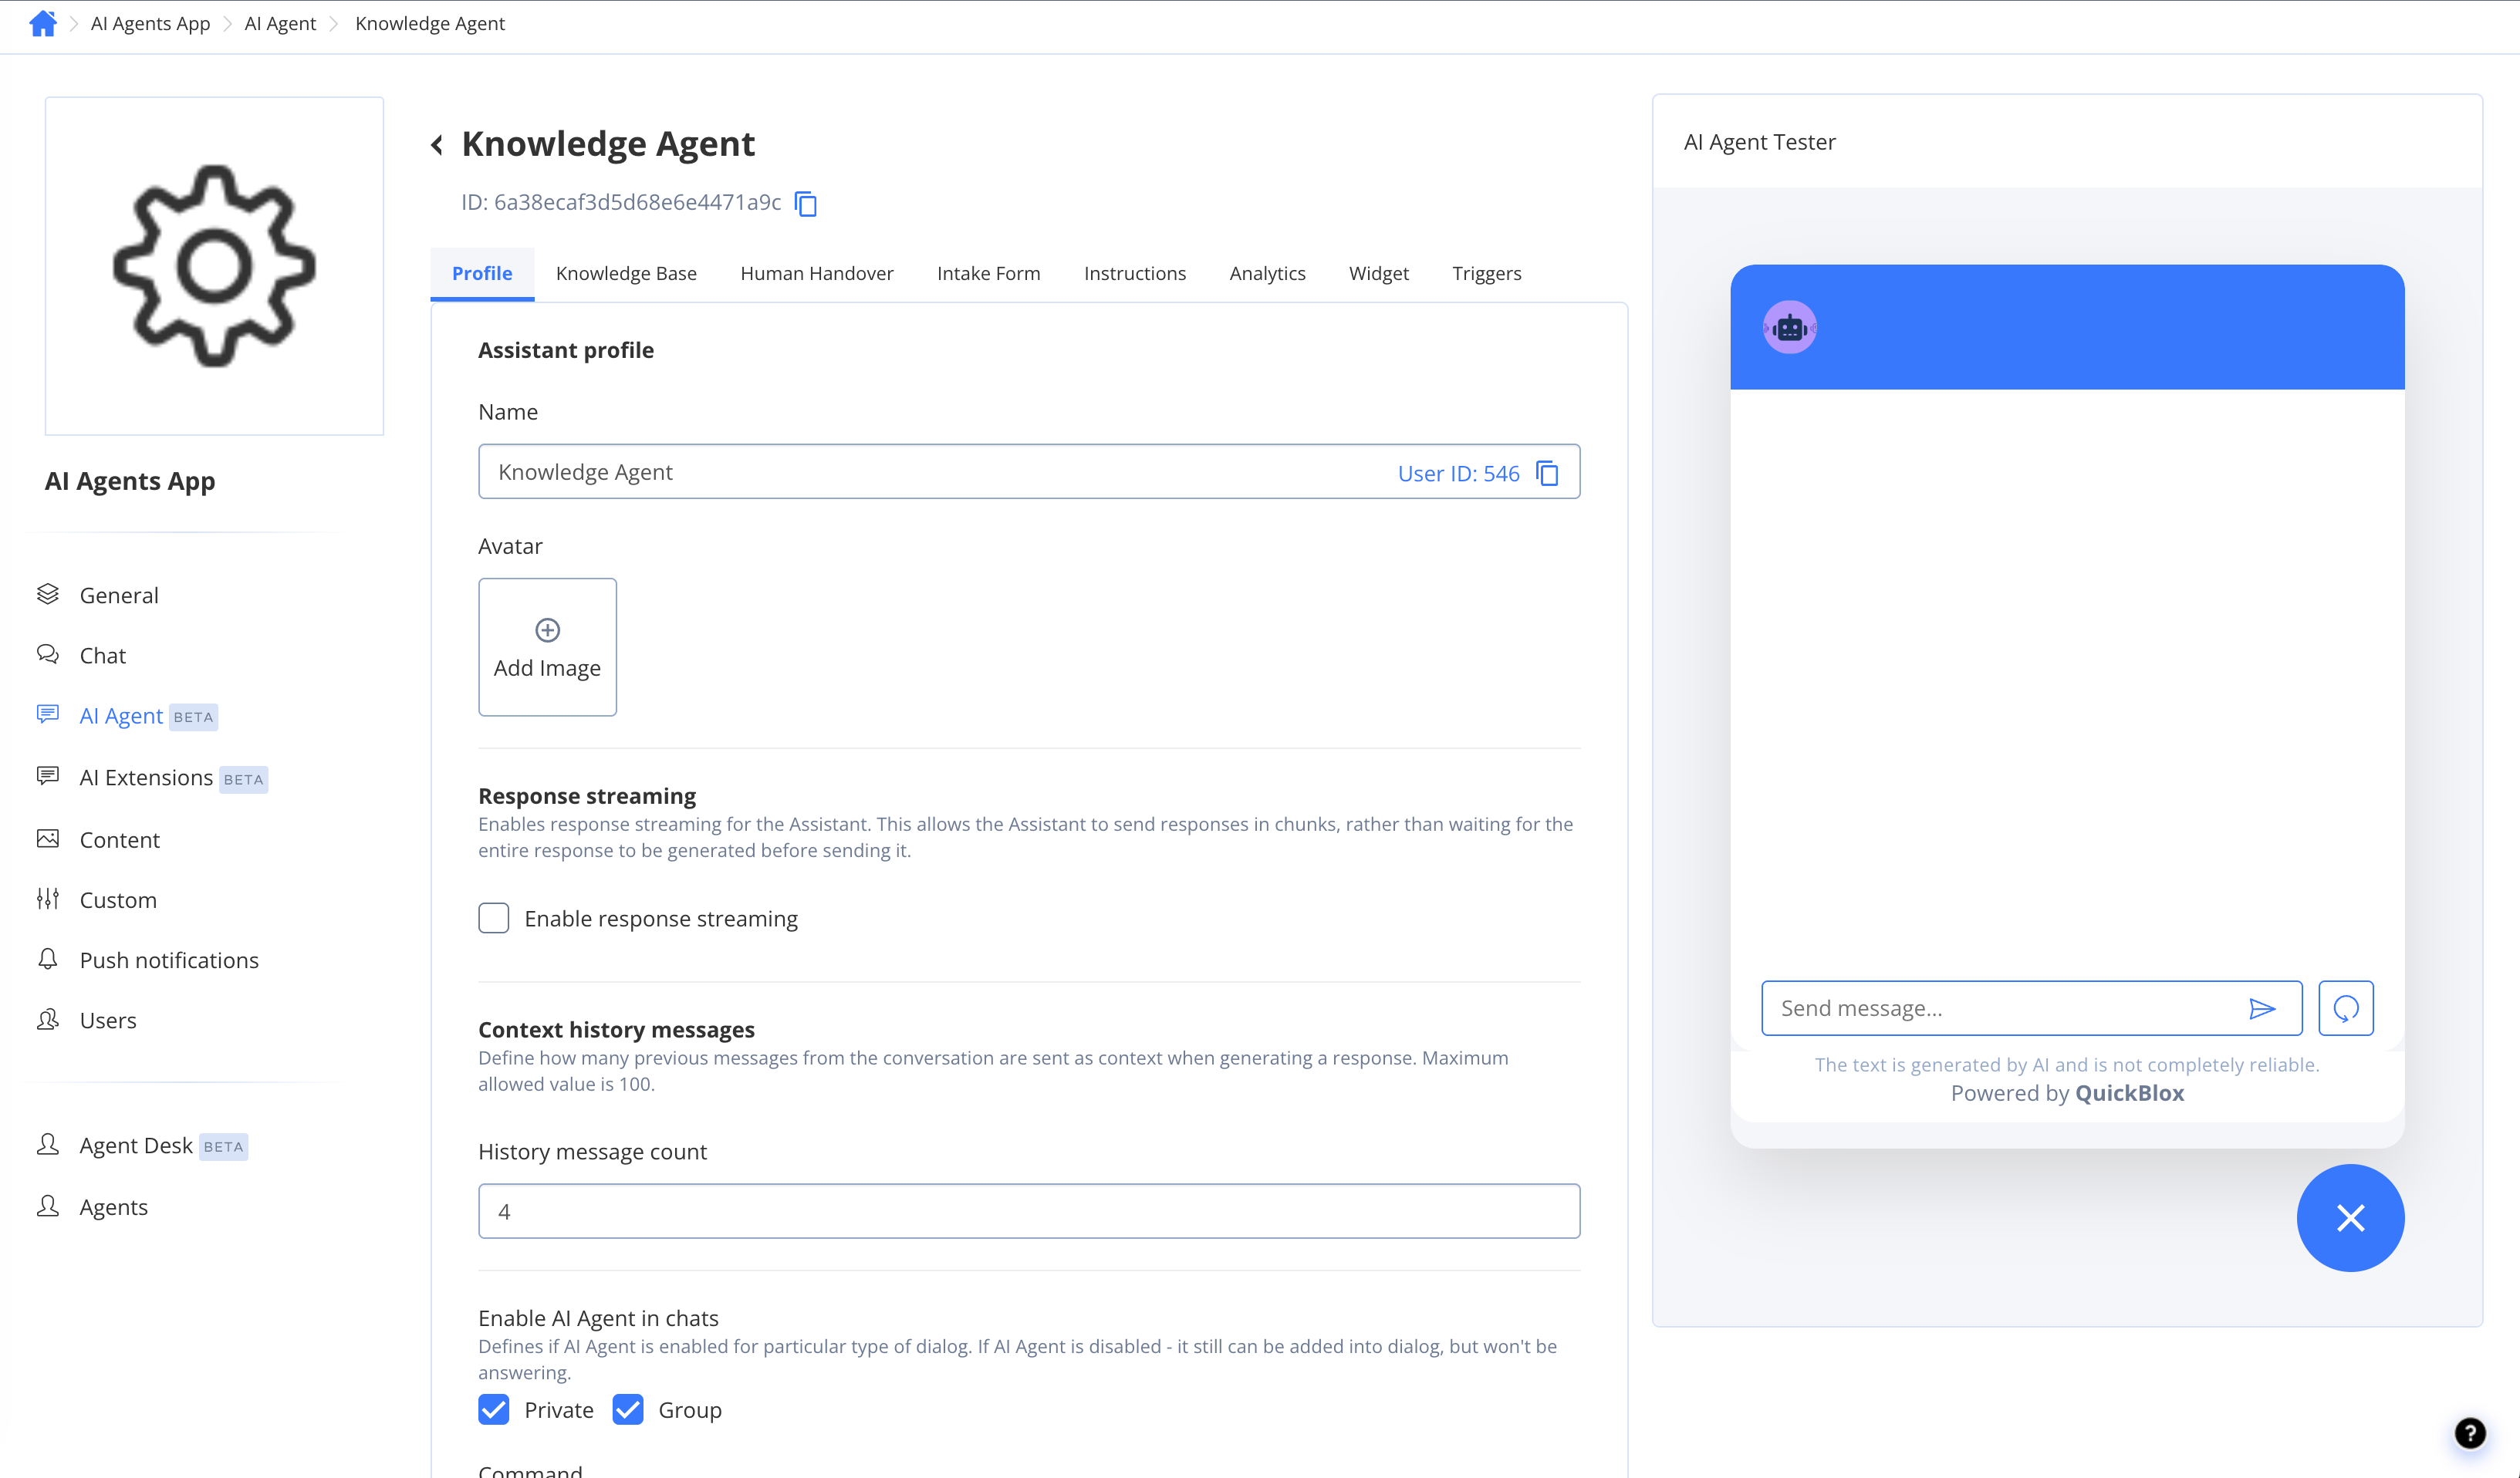
The agent edit page is organised into tabs, and each editable tab has its own Save button.Profile
- Name — the name shown to users in chats. Can be changed anytime.
- Avatar — upload an image (JPG, JPEG, or GIF) used as the agent’s avatar.
- Enable AI Agent in chats — choose where the agent responds using the Private and Group checkboxes. If it is disabled for a dialog type, the agent can still be added to a dialog but won’t answer there.
- Command — a single word that activates the agent in group chats. When users type
/command, they can talk to the agent in that group (the agent’s user must be in the chat too).
Knowledge Base
On the Knowledge Base tab you choose where answers come from — Your uploaded content or OpenAI — and manage the content the agent can use. Under Unanswered questions, choose what happens when the agent can’t answer from its knowledge base:
See Knowledge Base for full details on managing content.
Instructions
The Instructions tab holds two prompts that shape the agent’s tone and behaviour:- Knowledge base — used when the knowledge base is set to Your uploaded content.
- OpenAI — used when the knowledge base is set to OpenAI, and when unanswered questions are forwarded to OpenAI.
Other tabs
- Human Handover — configure transfer to human agents. See Human handover.
- Intake Form — collect details before answering. See Intake forms.
- Widget — appearance and embedding of the chat widget. See Widget.
- Analytics — usage charts and an unanswered-questions report (read-only).
Update AI Agent
To update an AI Agent, follow the steps below:- Navigate to the Dashboard => YOUR_APP => AI Agent page.
- Click the AI Agent you want to update.
- Open the relevant tab and edit its settings.
- Click the Save button on that tab to save your changes.

Delete AI Agent
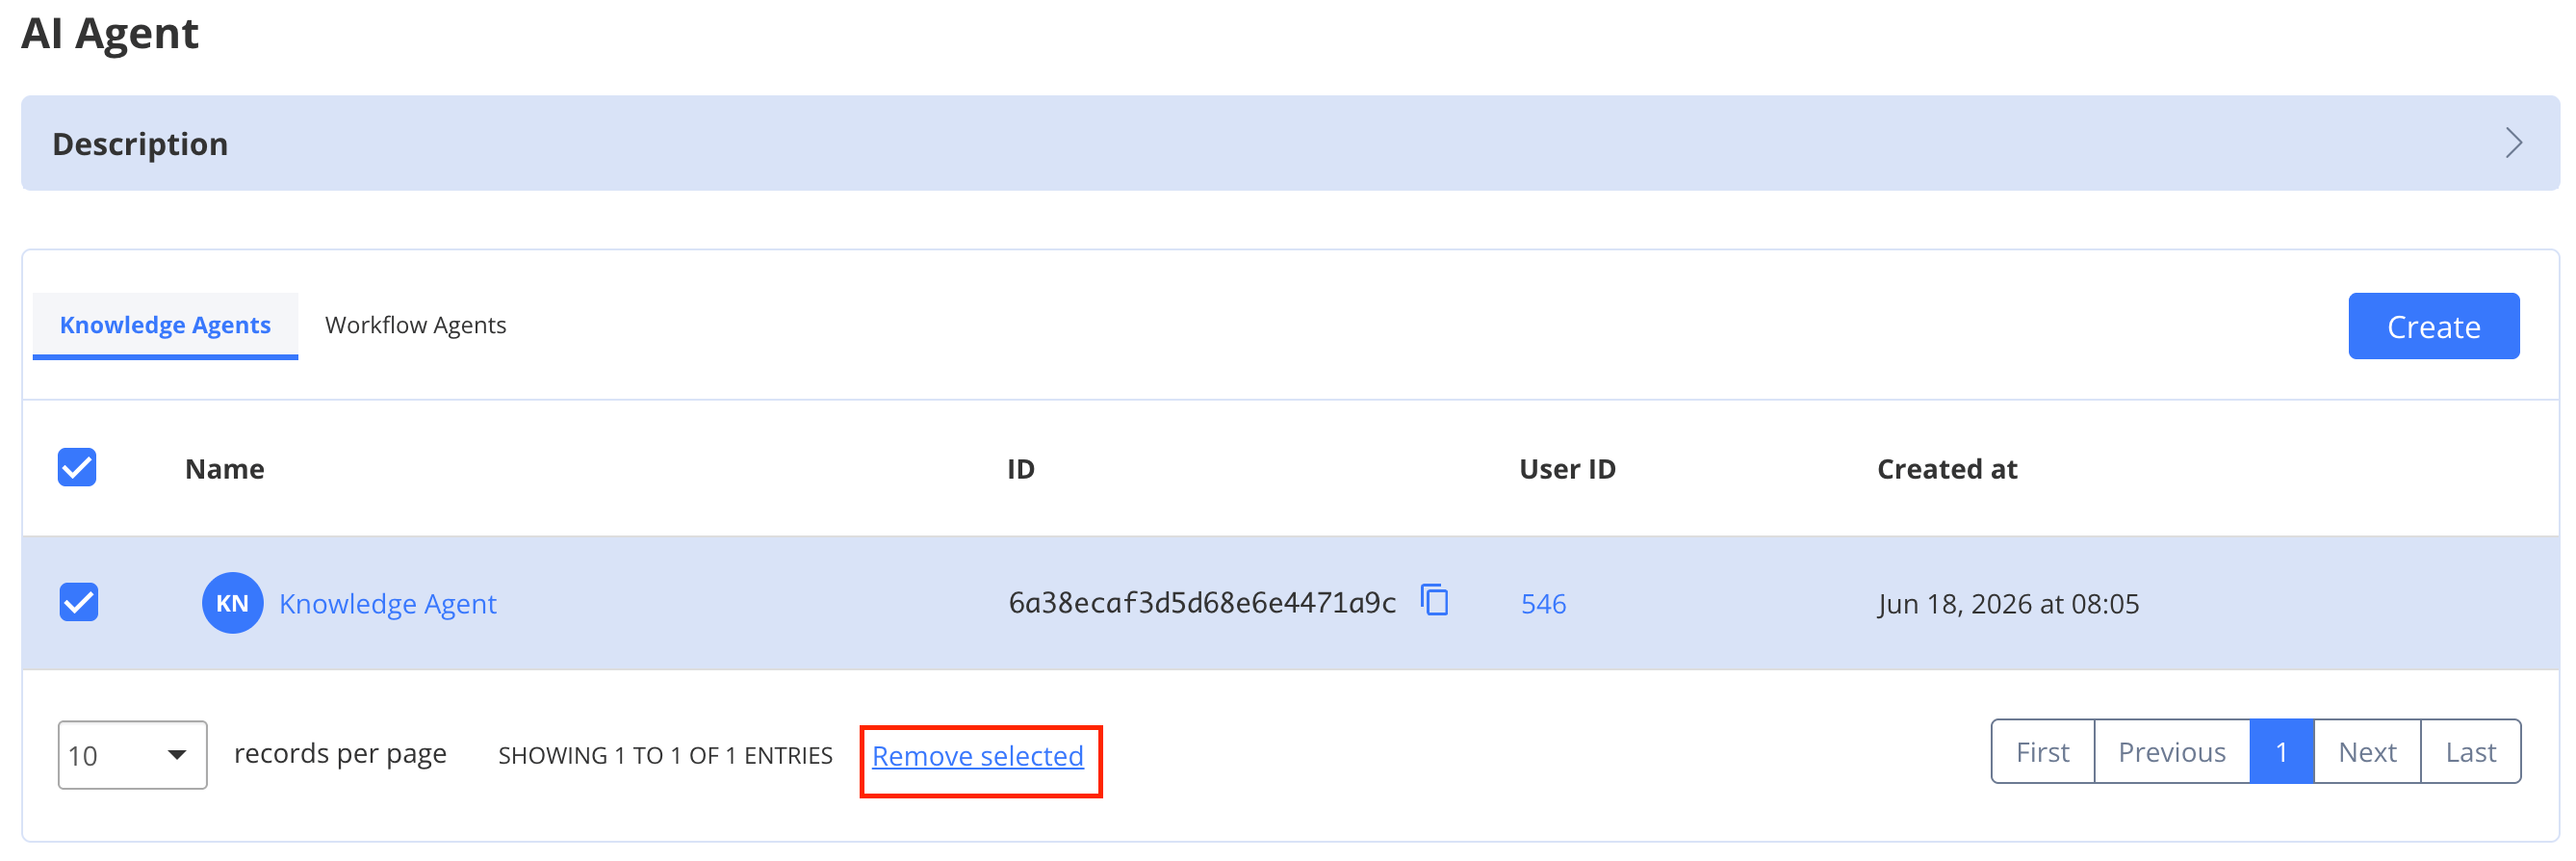
You can delete an AI Agent in two ways:- From the list: on the Dashboard => YOUR_APP => AI Agent page, select the agents using their checkboxes and click Remove selected.
- From the agent: open the agent and, on the Profile tab, click Delete in the Delete AI Agent section.
Test AI Agent
Every agent edit page includes the AI Agent Tester on the right side, where you can chat with the agent to try out its behaviour.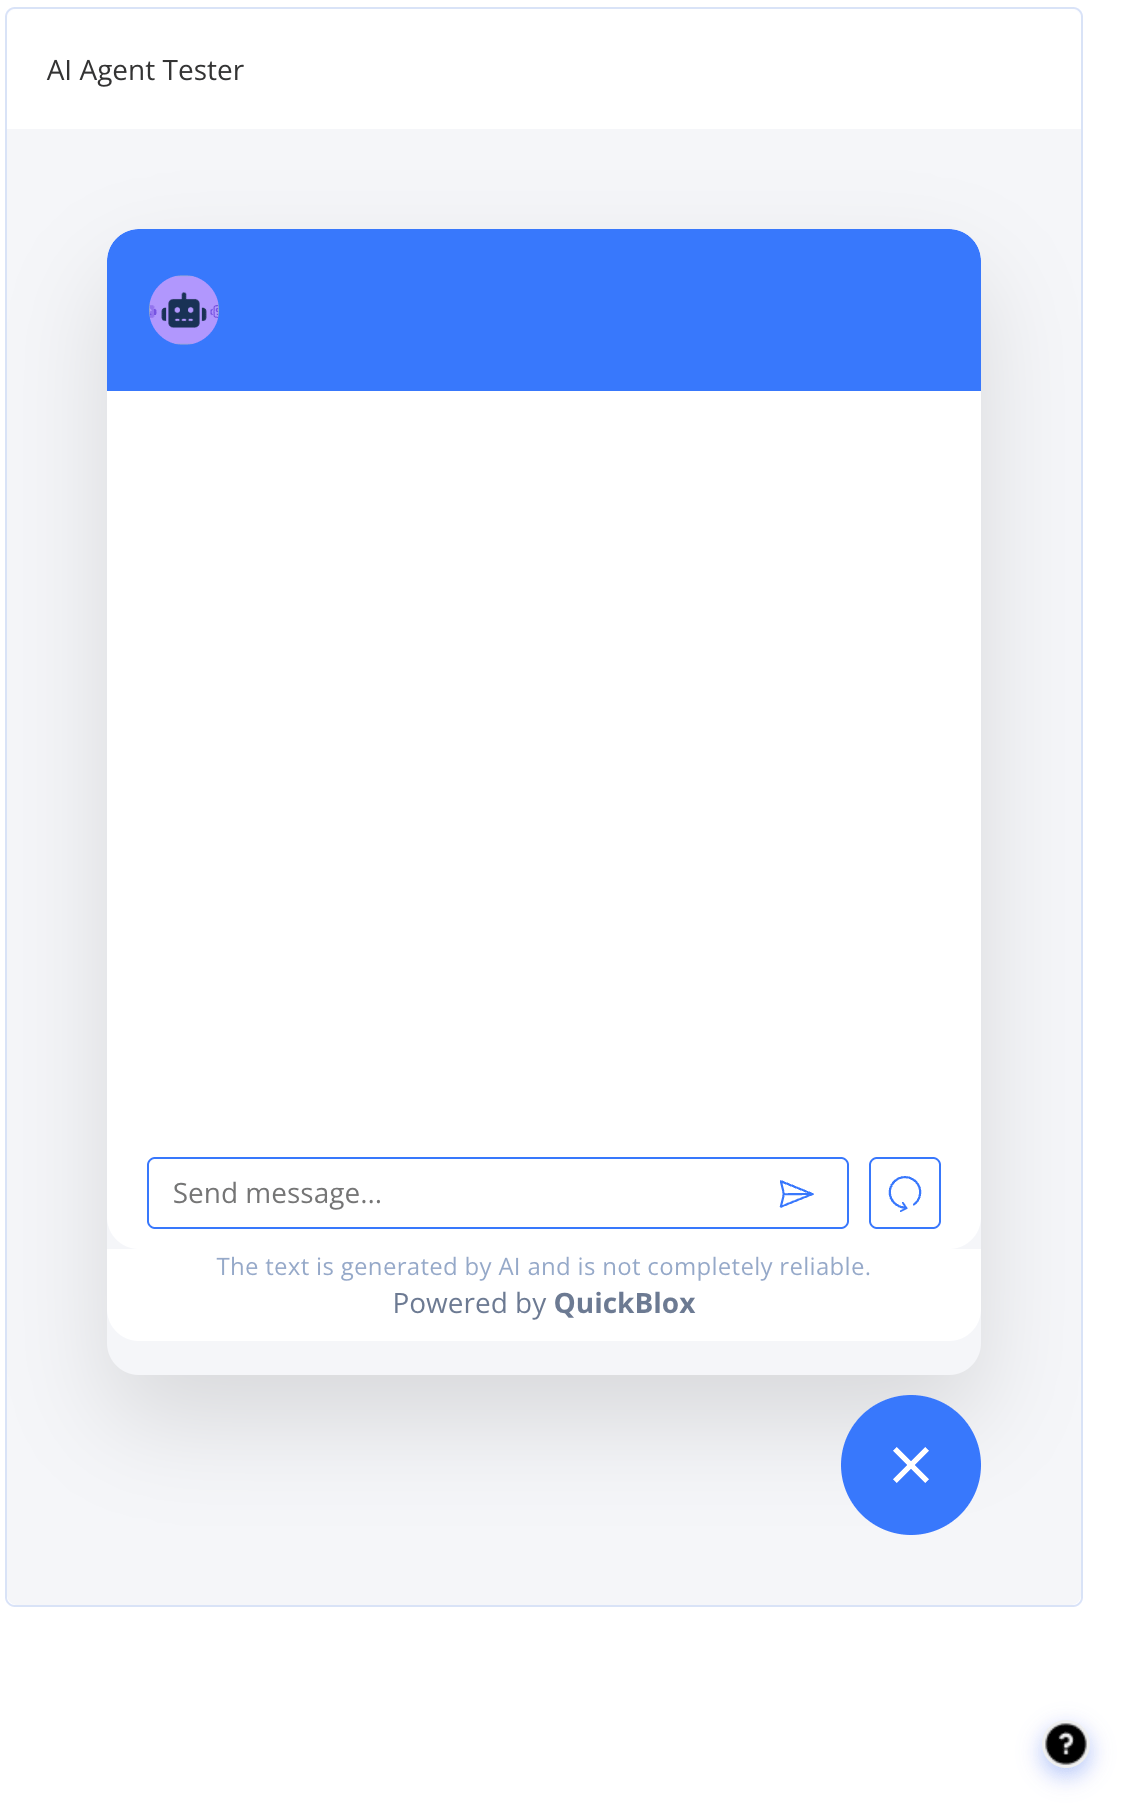
Some behaviours — such as Human handover — are only fully exercised in the widget or via SDKs. In the dashboard tester you may just receive the “I don’t know the answer” message.