Create a workflow
- Go to Dashboard => YOUR_APP => AI Agent.
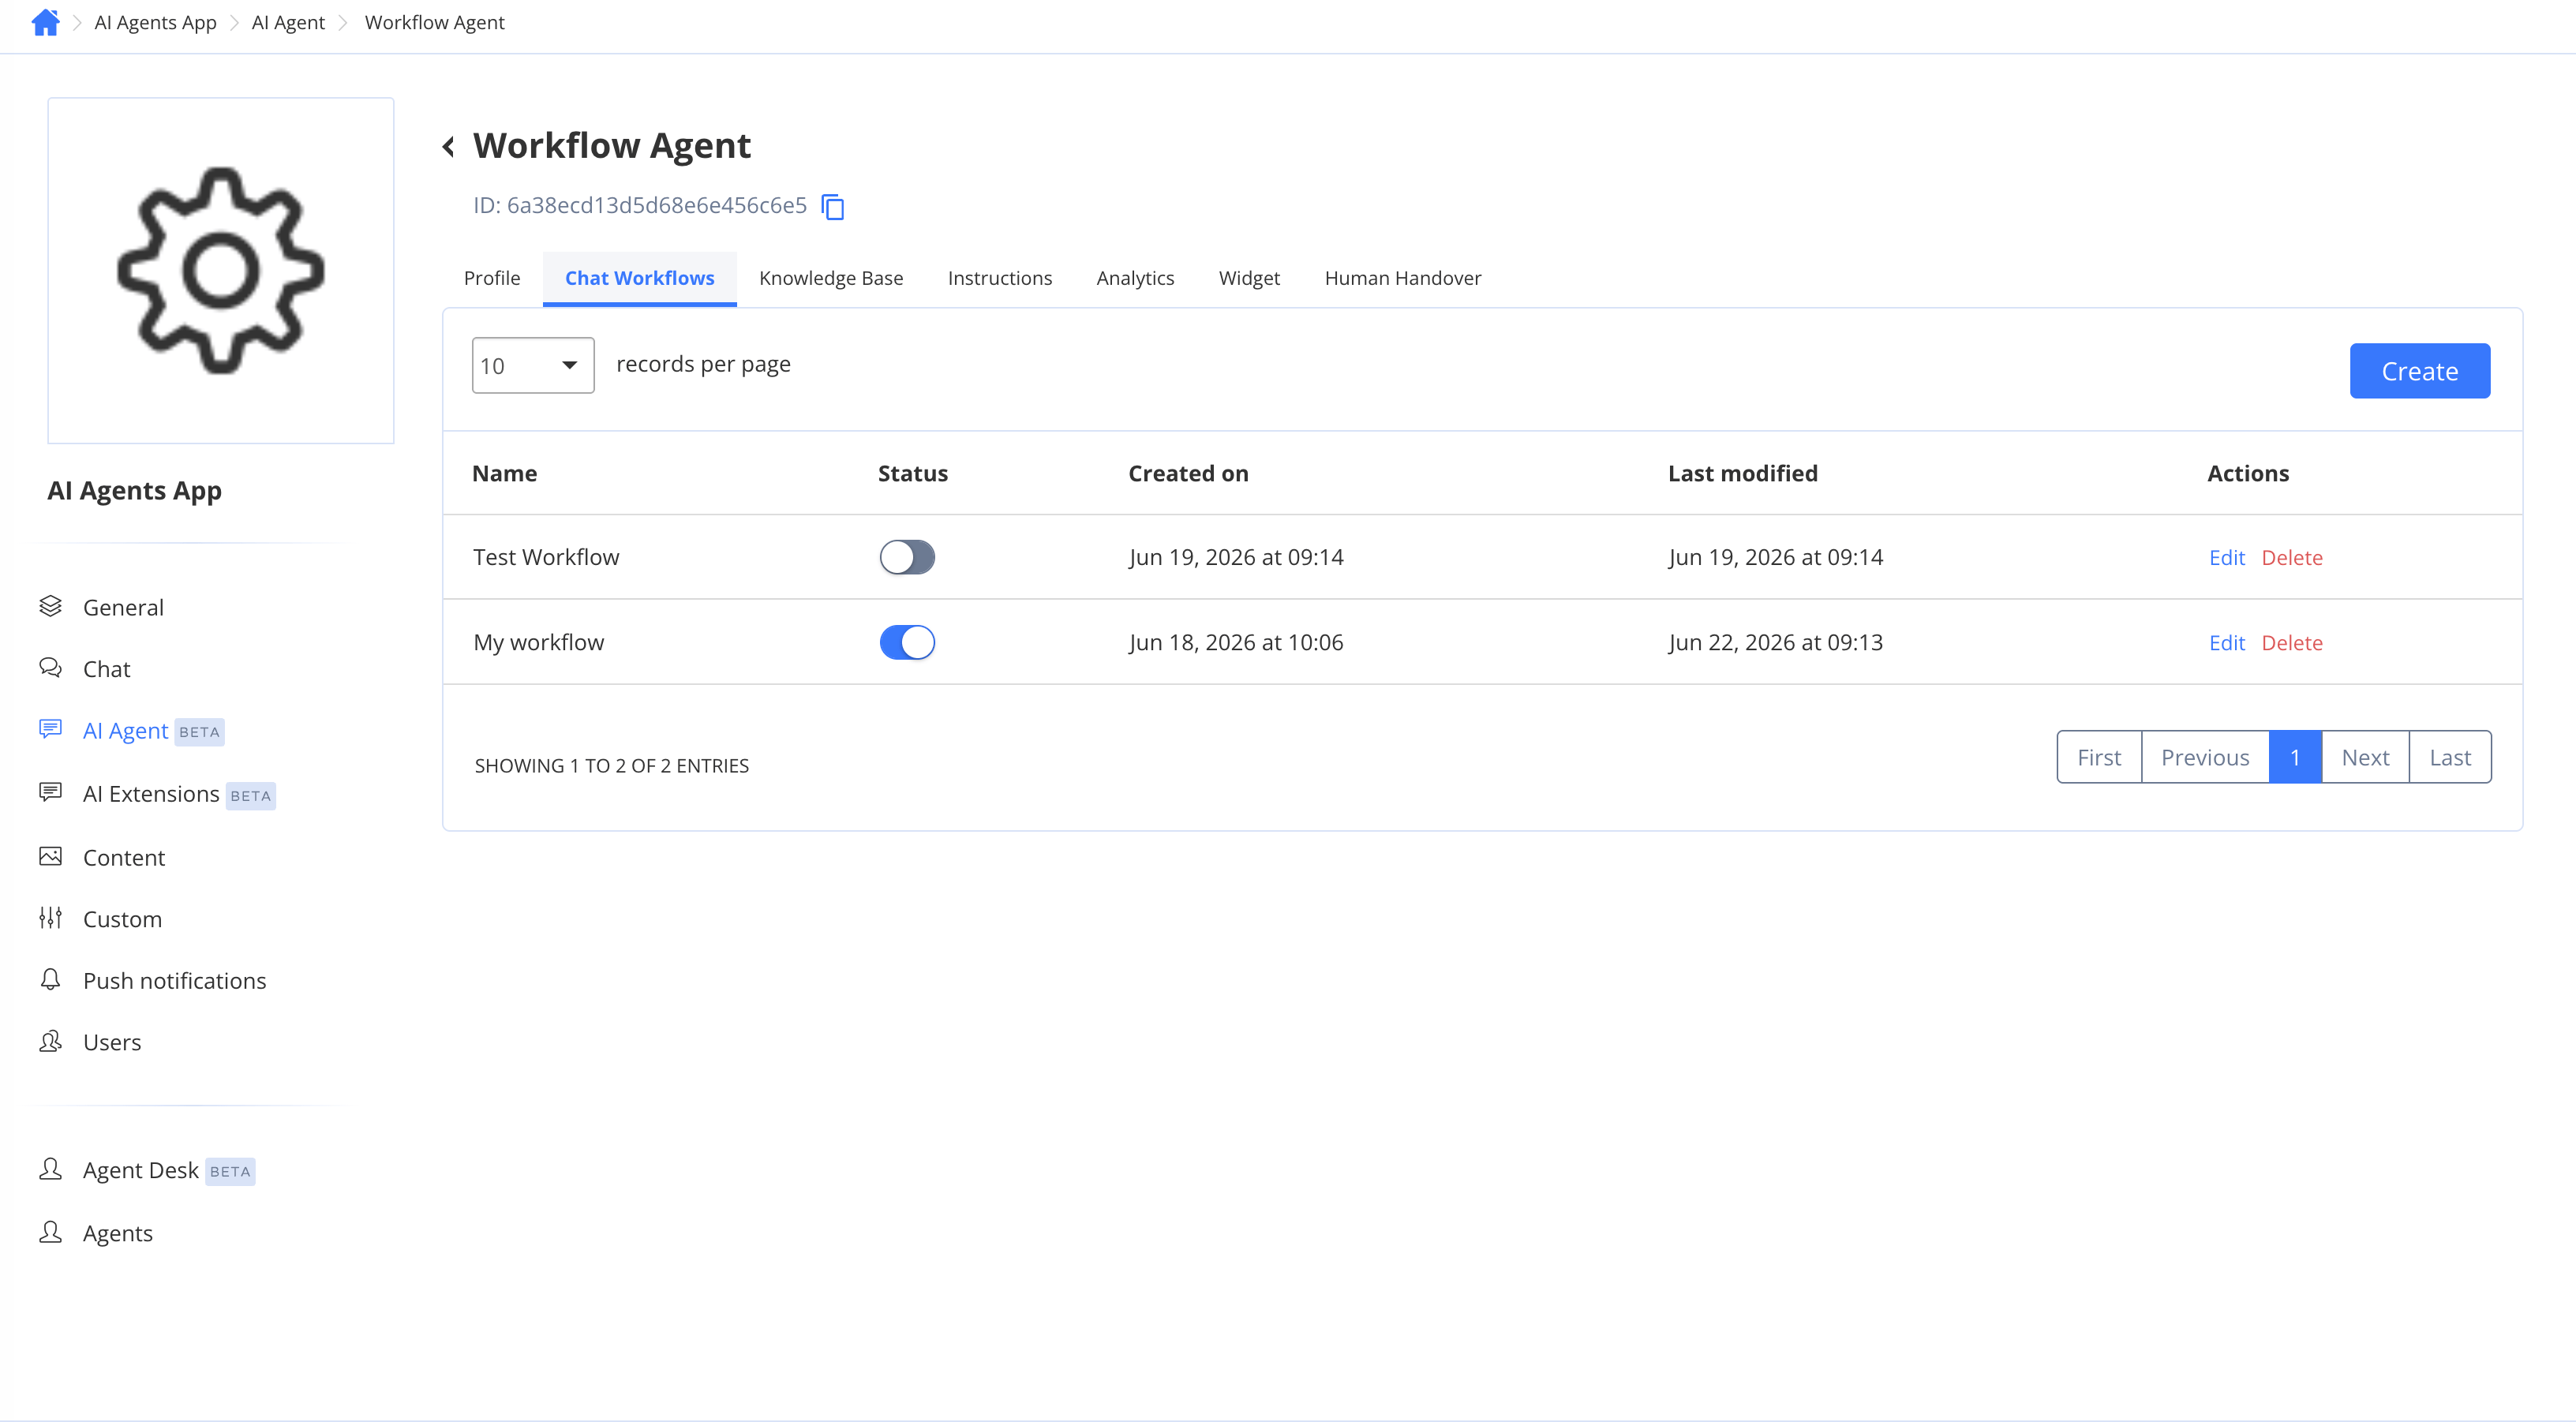
- Open the Workflow Agent you want to add a workflow to.
- Click the Chat Workflows tab.
- Click Create (the button reads Create Workflow on the empty state).
- Enter a name for the workflow and confirm.
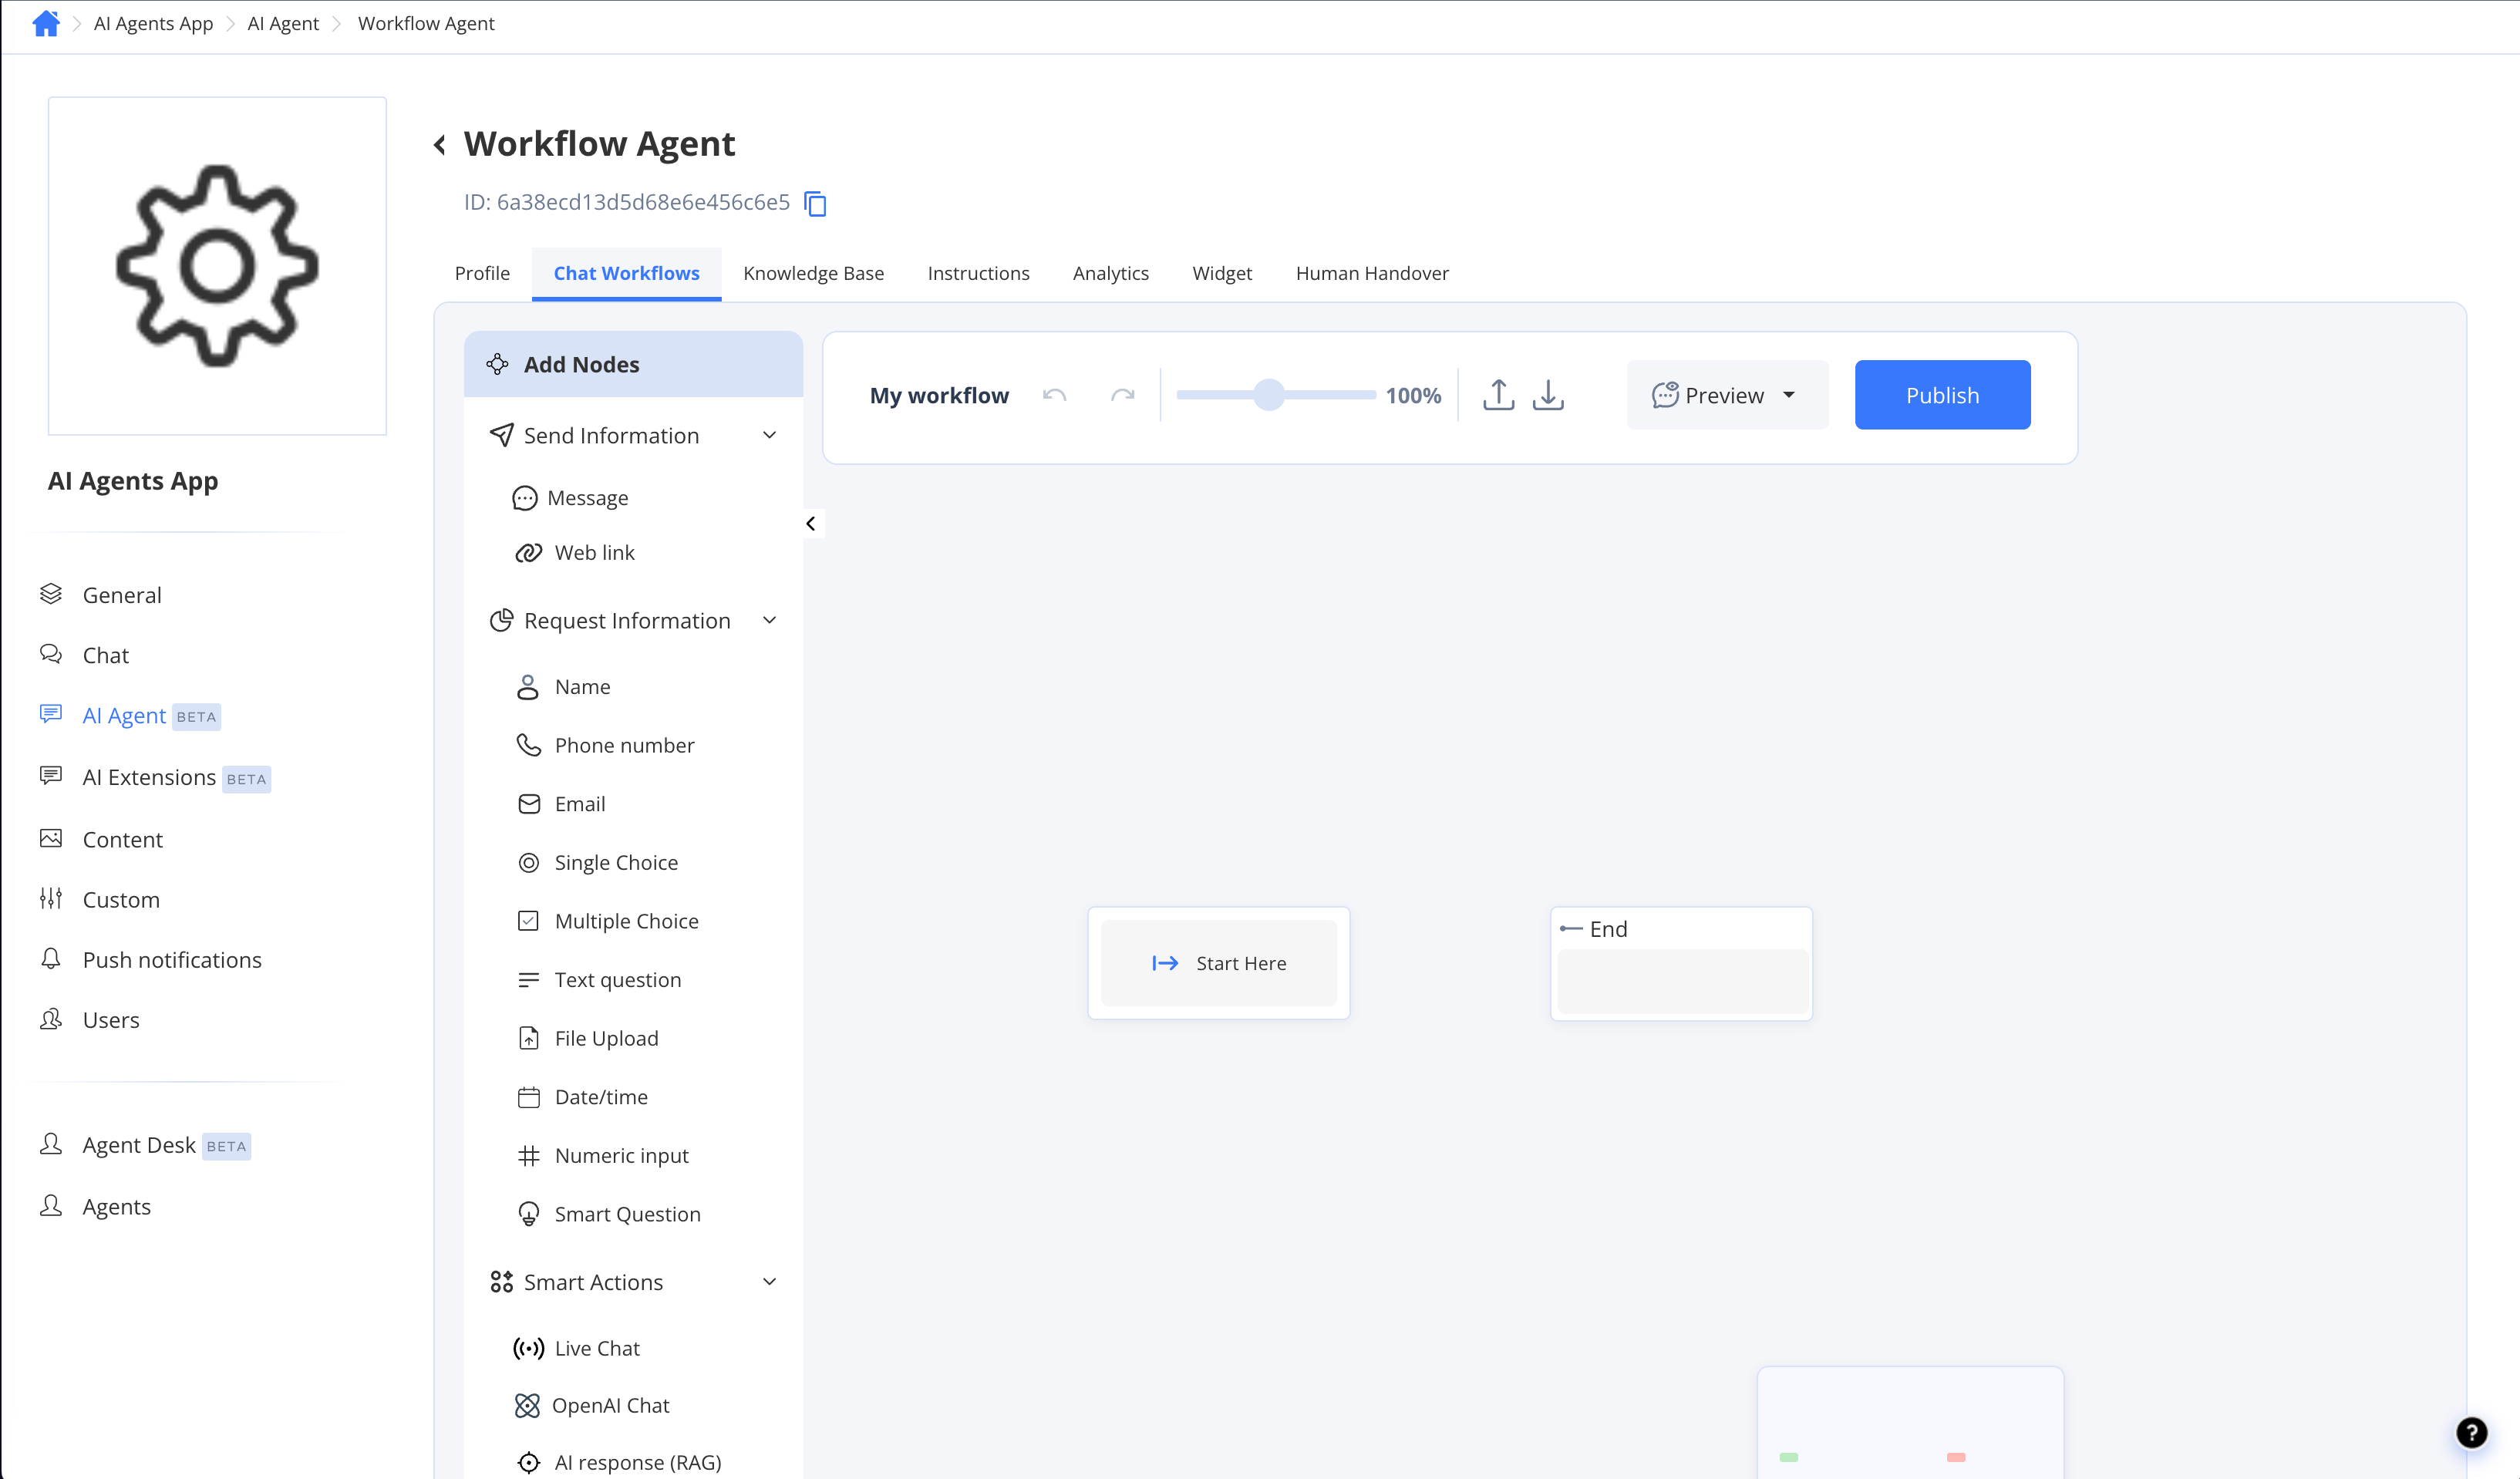
Editor layout
The editor has three main areas: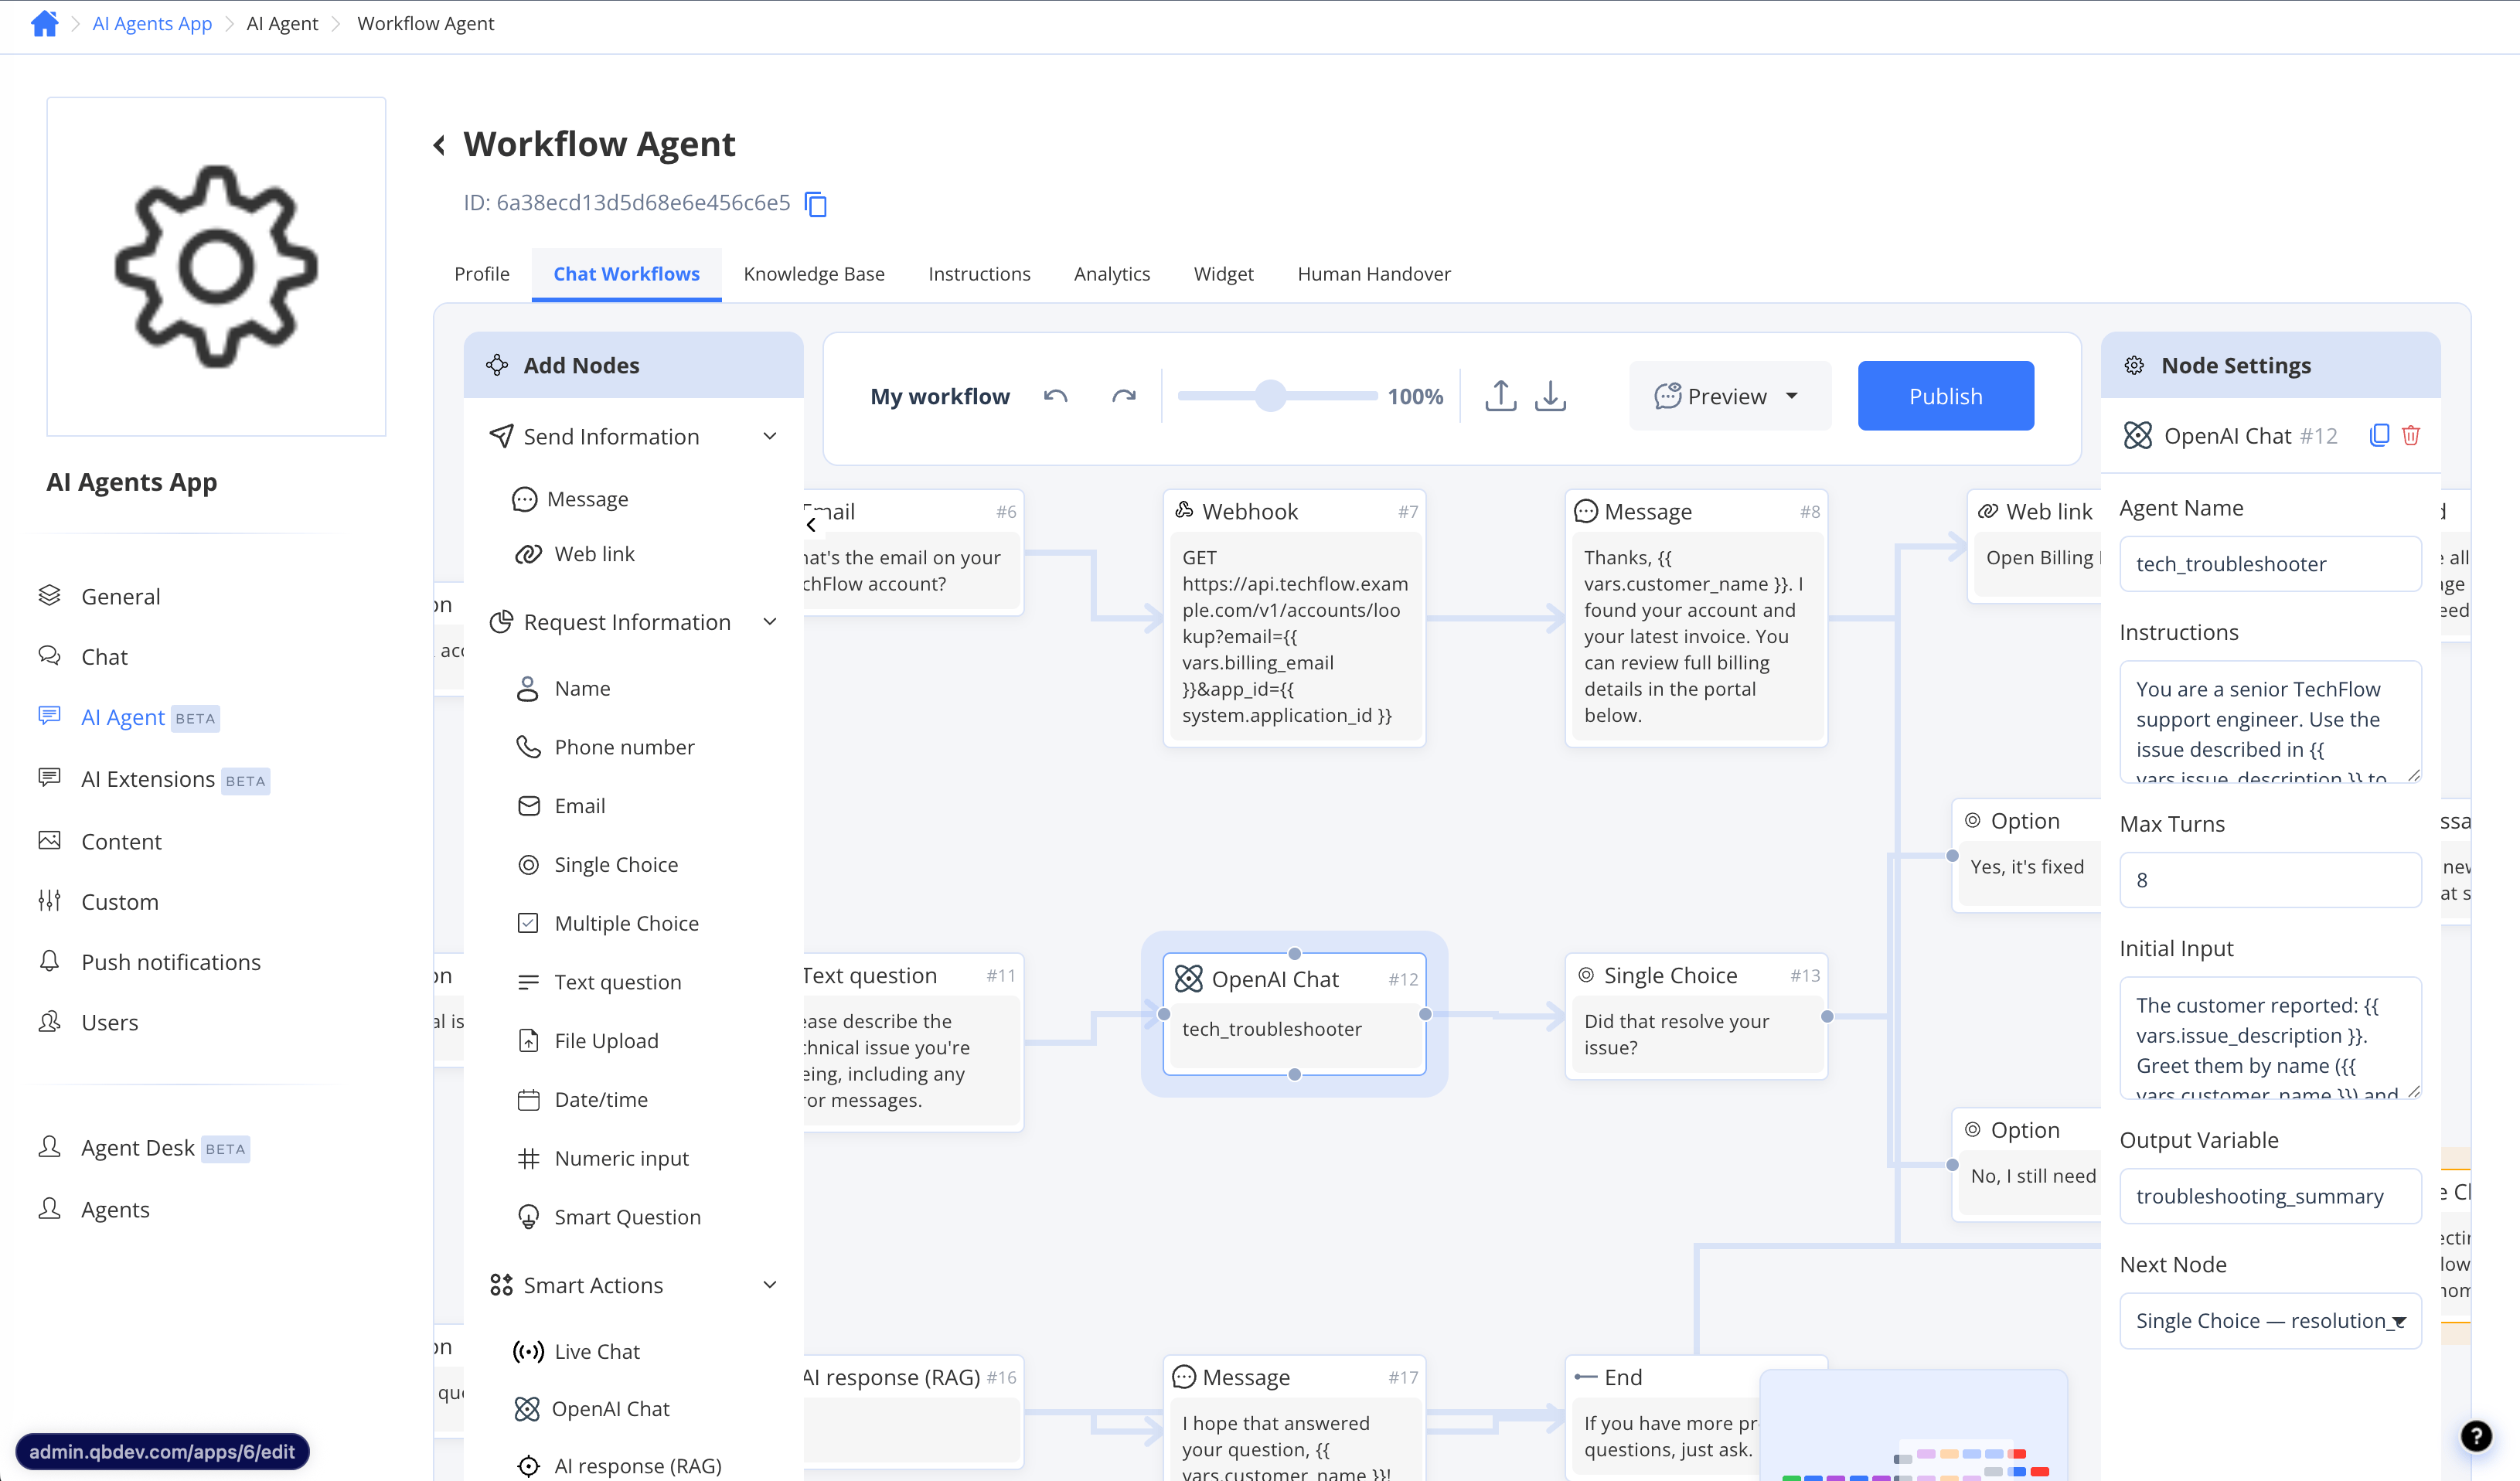
Import and export
You can share or back up a workflow as a JSON file. Both actions live in the editor toolbar, so open a workflow first.- To export: open the workflow and click the Export icon in the editor toolbar. The JSON file is downloaded to your device.
- To import: open a workflow, click the Import icon in the editor toolbar, and select a previously exported JSON file. The imported graph replaces the canvas of the currently open workflow.
Importing overwrites the currently open workflow’s canvas. The change is auto-saved as the draft working copy — review and publish it before activating.
Publish a workflow
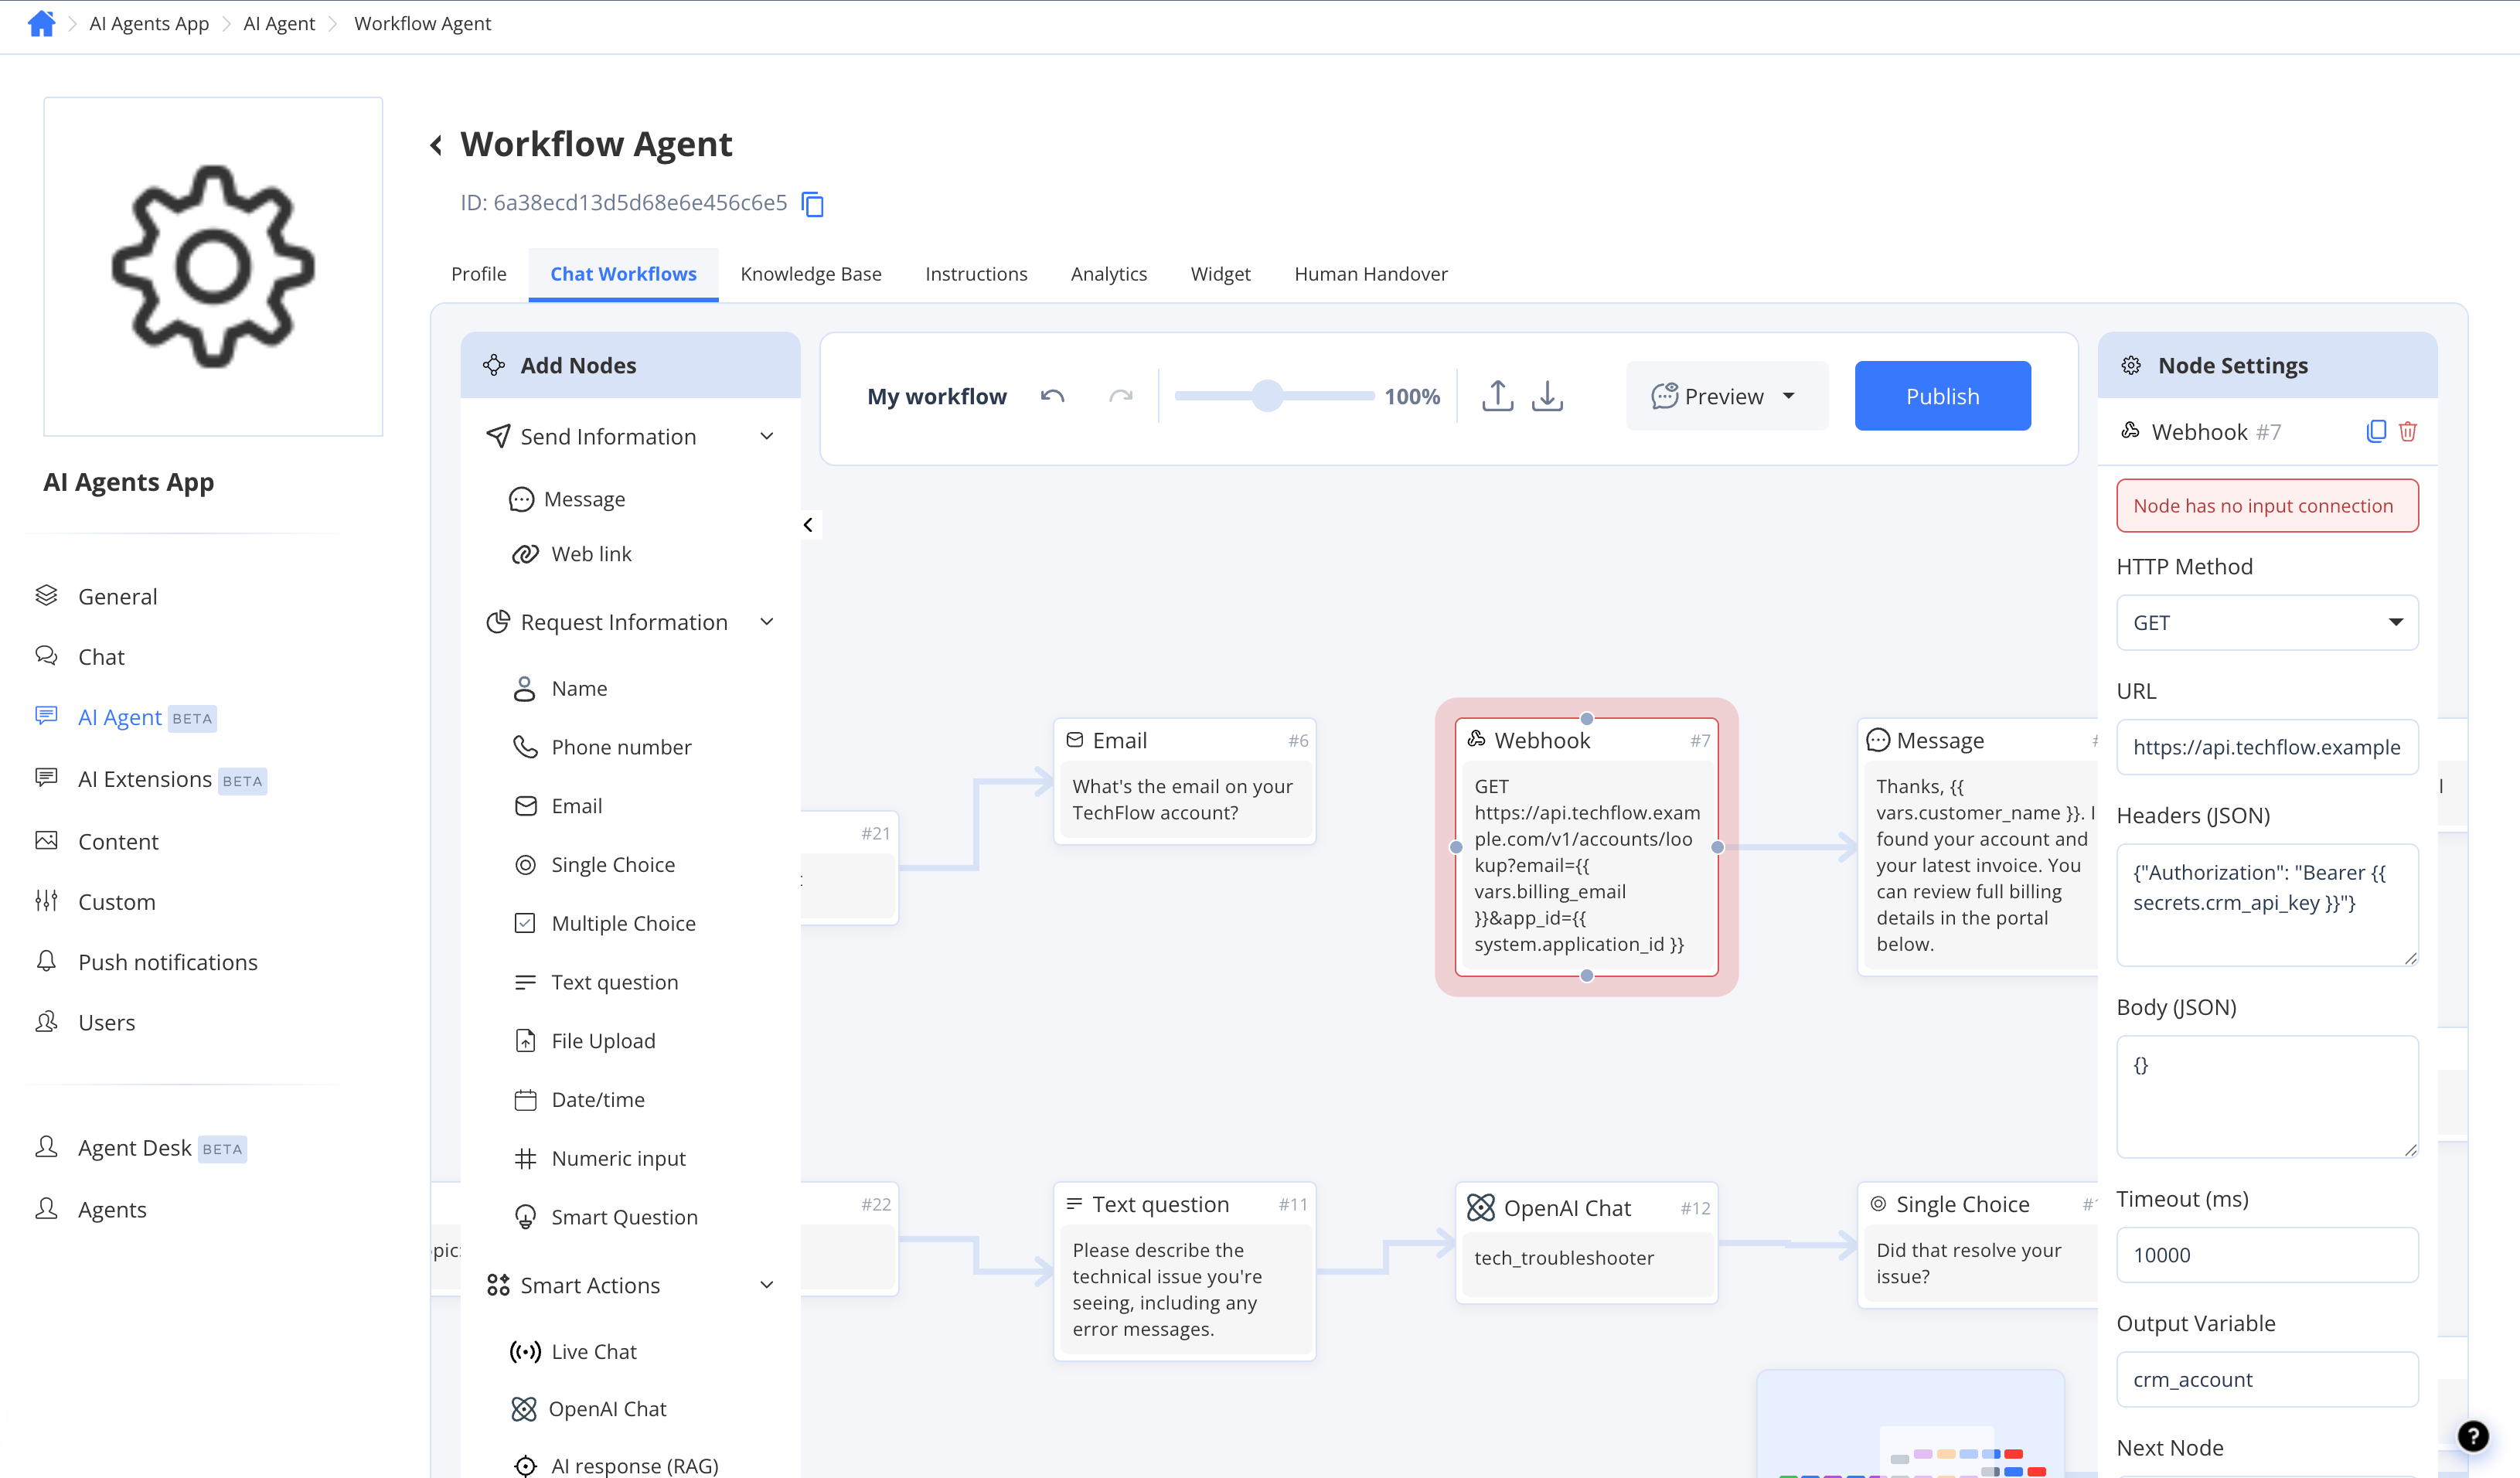
Publishing makes a workflow available to be activated for live conversations. Before you can publish, every node must meet the following requirements:- Every node must be connected — no isolated nodes on the canvas.
- Every node must be reachable — each node needs an incoming connection, with no orphaned nodes that nothing links to.
- Every path must ultimately reach an End node — no open output ports.
- Finish building and configuring all nodes.
- Click Publish in the editor toolbar.
- Resolve any validation errors shown, then click Publish again.
Activate a workflow
Only one workflow per agent can be active at a time. Activating a workflow makes it the one that runs for all new conversations on that agent.- Go to the Chat Workflows tab of the Workflow Agent.
- Find the published workflow you want to make live.
- Toggle the Status switch to Active.
Publish your workflow before activating it. Activating a workflow that has never been published leaves live conversations with no flow to run.
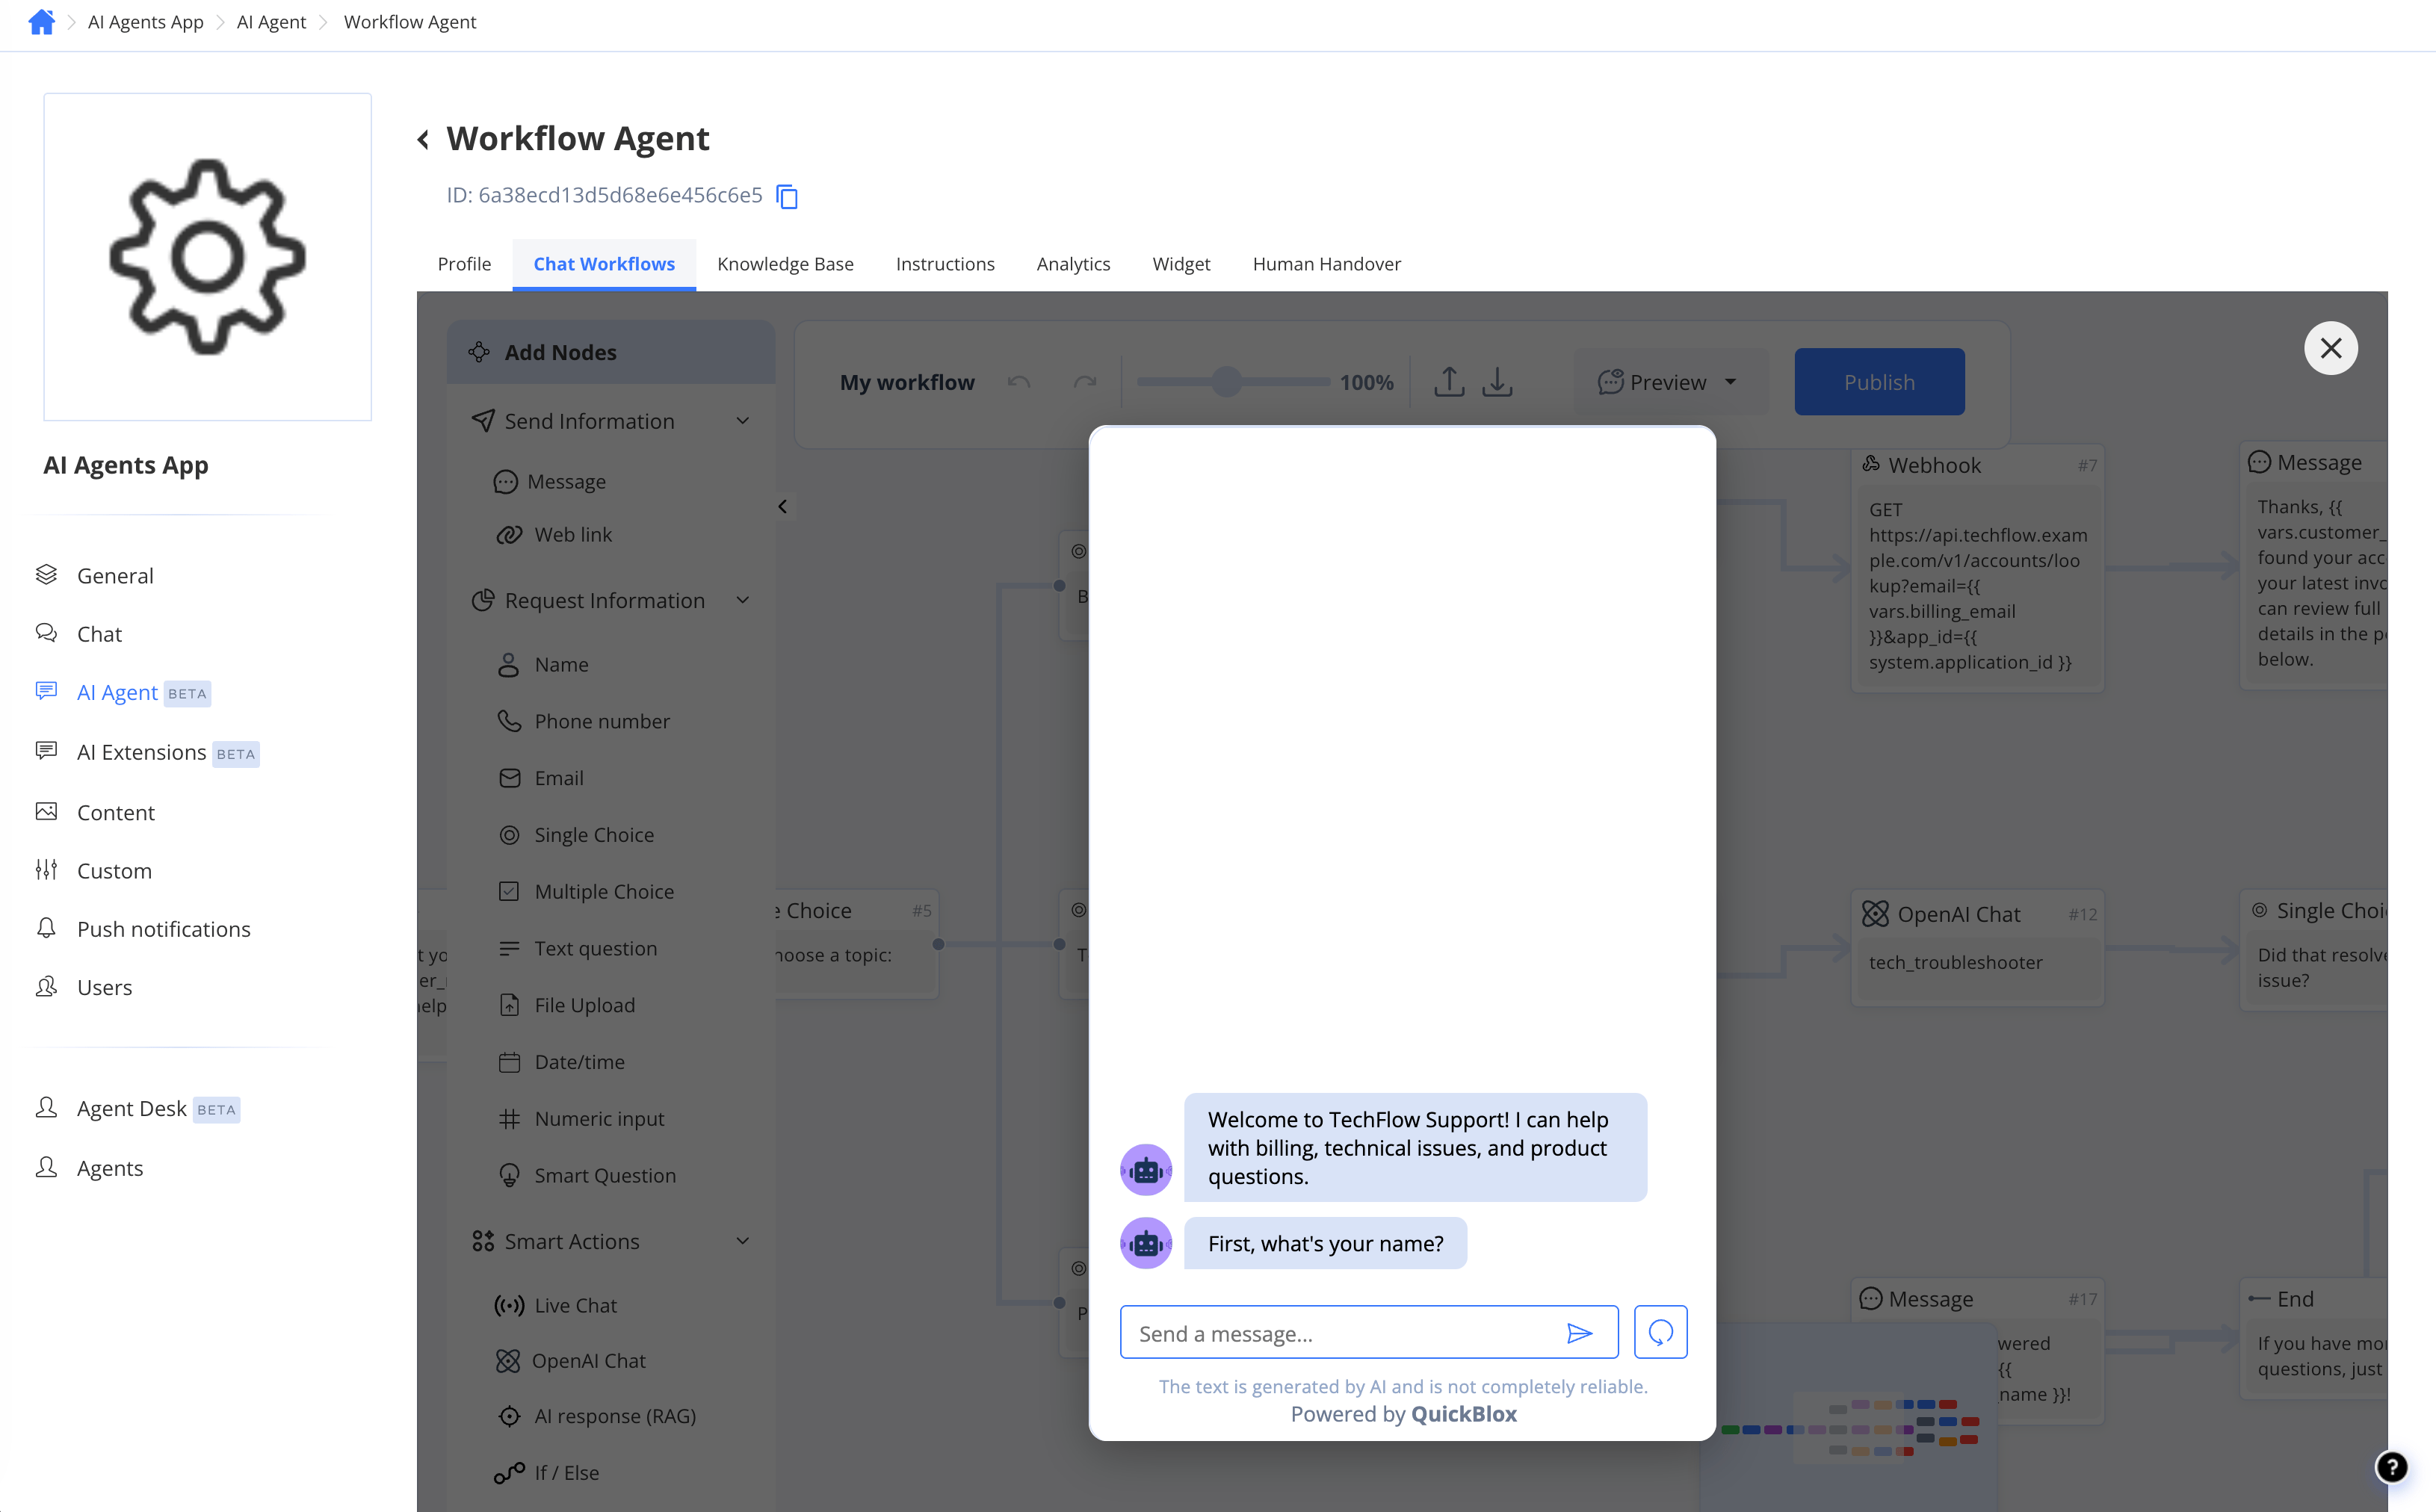
Preview and test
You can test your workflow without affecting live users.- Click Preview in the editor toolbar to open the embedded chat widget and interact with the workflow as a user would.
- Use the AI Agent Tester (available from the agent’s main settings) to run through the flow and inspect how each node responds.